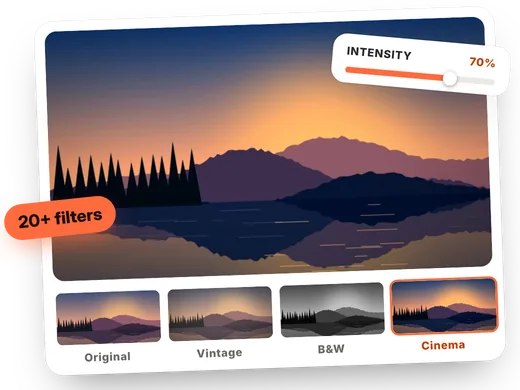
How to apply a filter to a photo in 4 steps
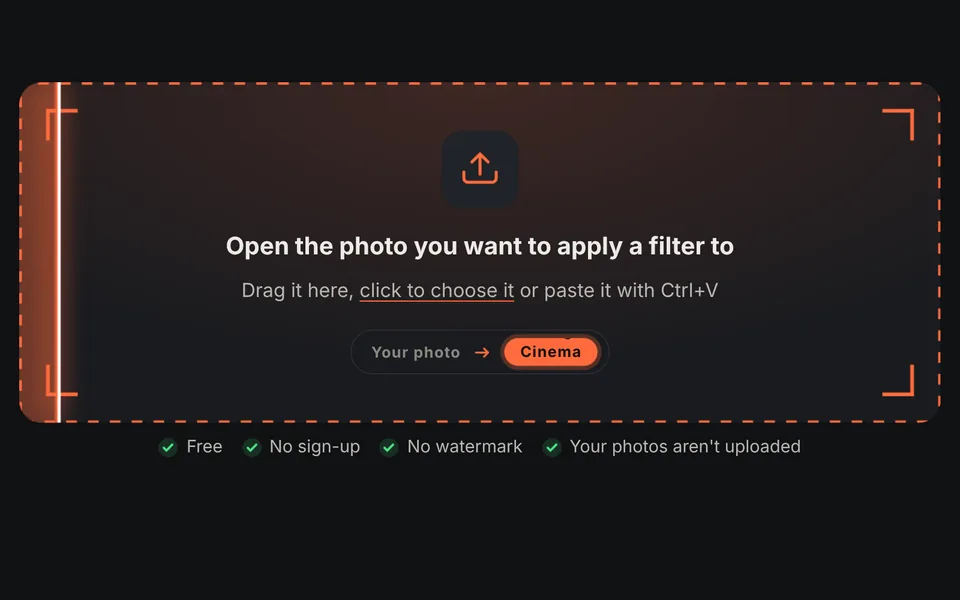
Open your photo
Drag the image or click to choose it. The editor opens in the Filters tab with a preview of every filter on your photo.
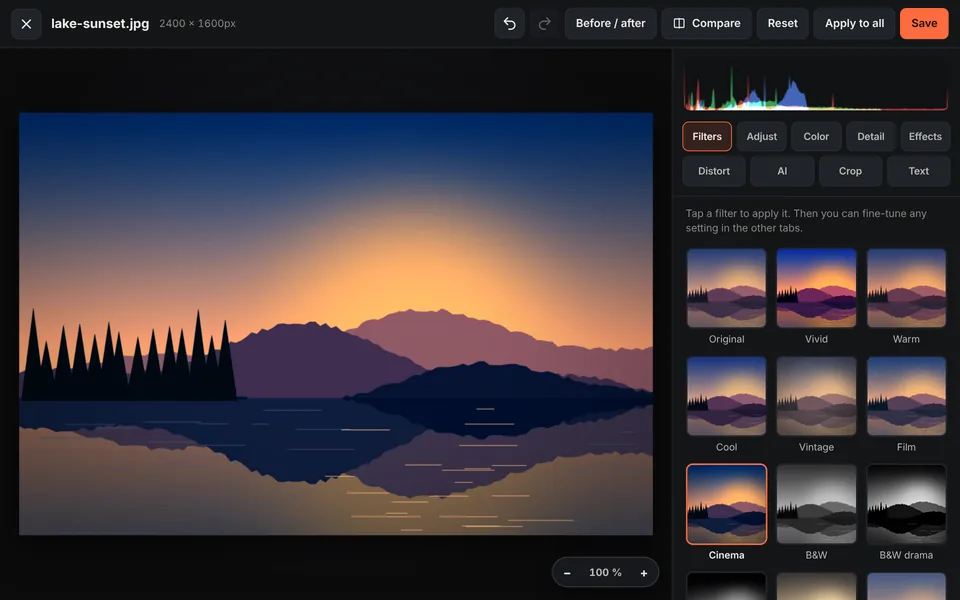
Choose a filter
Tap the one you like best. You can try them all: the change is instant.
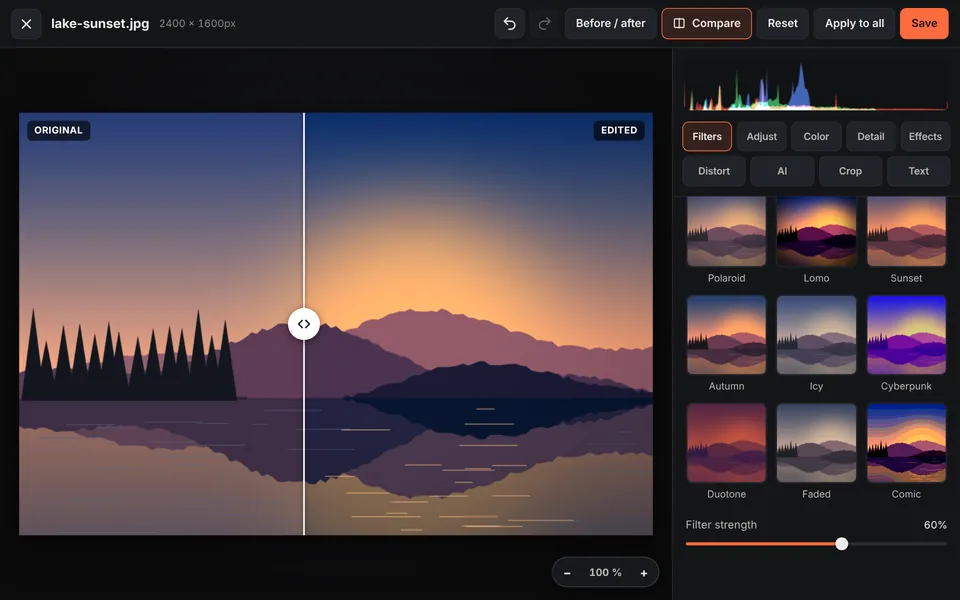
Adjust the intensity
Use the "Filter intensity" control to soften it or keep it at full strength. Use "Compare" to see before and after.
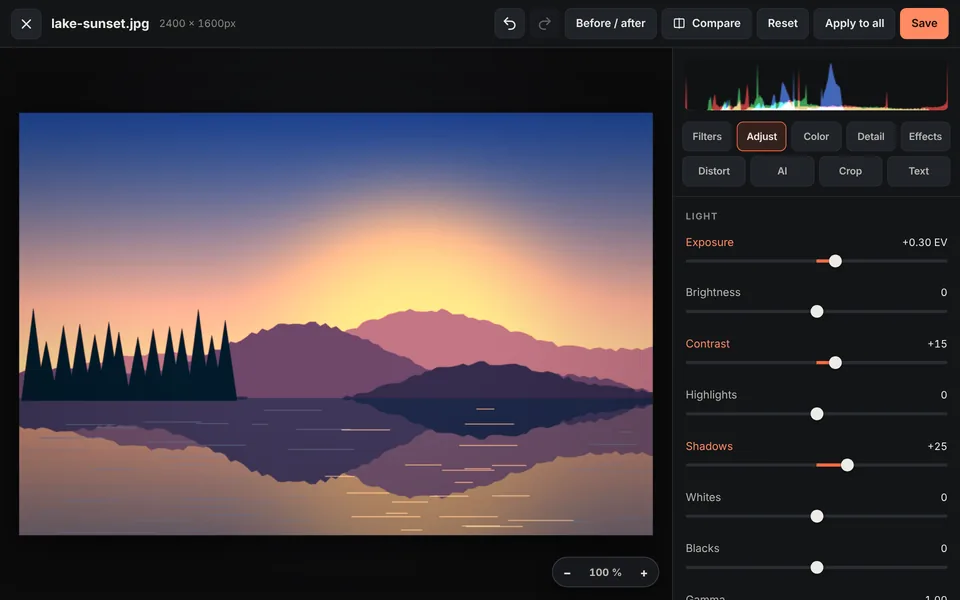
Touch up and save
If you like, fine-tune the light or color in Adjust, add effects and click "Save" to download the photo.
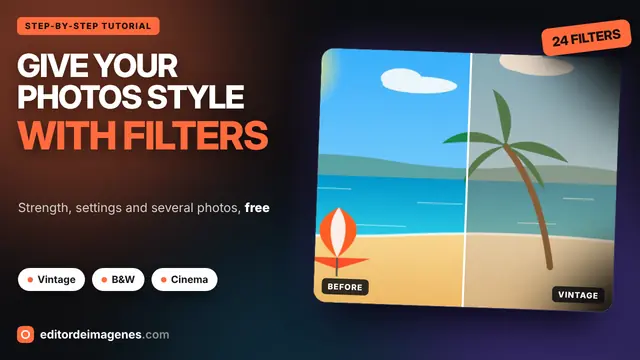
Video tutorial: how to add filters to your photos
In this video you'll see how two photos are uploaded, how to choose a filter, how to adjust its strength, how to fine-tune light, color, vignette and grain, how to compare before and after, how to apply the same filter to every photo and how to download them in a ZIP. Click a chapter to jump straight to that part.
The video only loads from YouTube when you press play, and YouTube may then set its cookies. More information in the cookie policy.
More than 20 filters for your photos
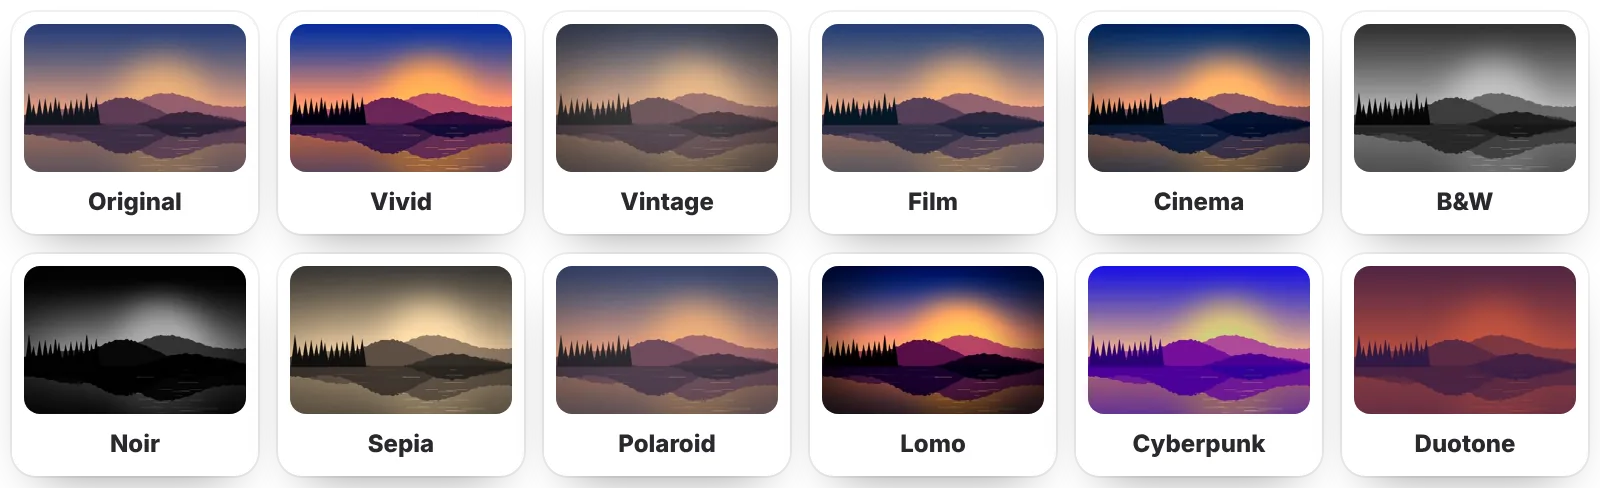
Filters completely change the mood of a photo in a single click. In this editor each filter is shown as a thumbnail of your own image, so you see the result before applying it. These are the available filters:
Vivid: more intense colors and more contrast for dull photos.
Warm and Cool: golden sunset tones or bluish winter tones.
Vintage: faded colors, a touch of sepia, vignette and old-photo grain.
Film: the look of analog film with grain and soft blacks.
Cinema: the "teal & orange" color grading of movies, with bluish shadows and warm highlights.
B&W and B&W drama: classic black and white, or with lots of contrast and clarity.
Noir: dark, contrasty black and white, film noir style.
Sepia: the brown tone of old photographs.
Matte: washed-out blacks and soft contrast, very popular on Instagram.
Dramatic and HDR: more detail, recovered shadows and powerful skies.
Pastel: soft, bright colors.
Polaroid and Lomo: the look of an instant camera and of a lomography camera with vignette.
Sunset and Autumn: orange, warm tones.
Glacier: cold, bright and low saturation.
Cyberpunk and Duotone: neon colors and two-tone gradients for a creative style.
Faded and Comic: muted colors, or flat colors with lots of contrast.
Much more than filters
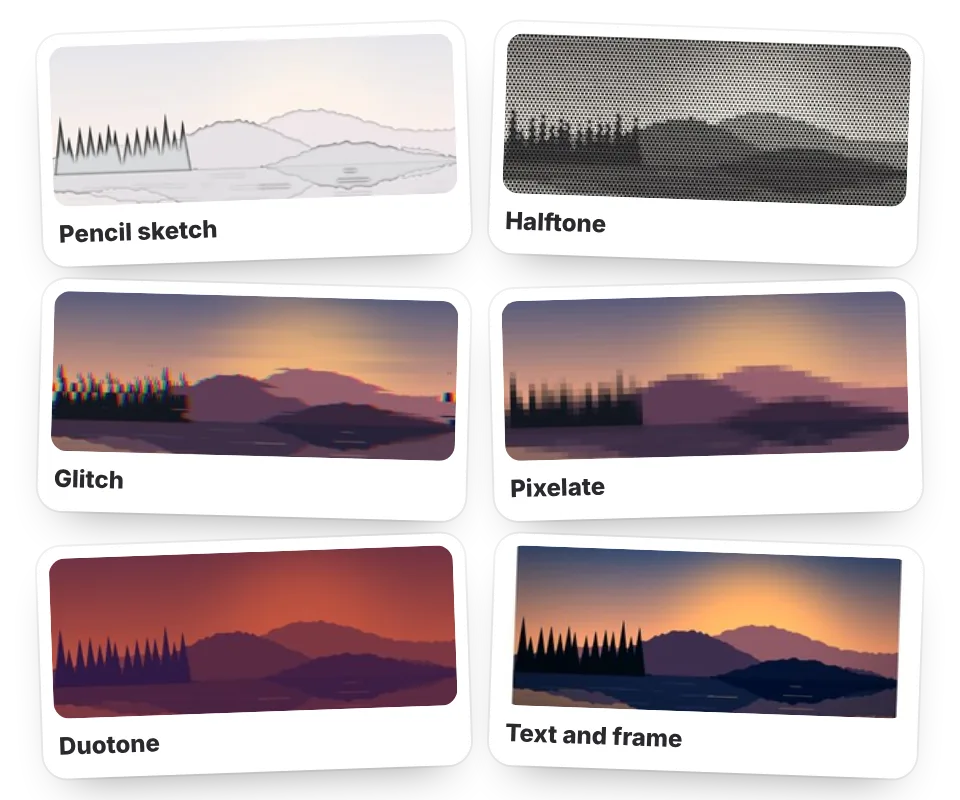
After choosing a filter you can keep editing in the other tabs: adjustments for exposure, contrast, highlights, shadows, temperature and saturation; color with split toning and duotone; effects such as oil painting, pencil sketch, halftone, glitch or film grain; and text and frames.
Everything can be combined: apply the Vintage filter, add grain and a vignette, type a title and add a white frame for a developed-photo look. Every change is shown instantly and you can undo or redo it whenever you want. And if you need more, the AI tab lets you remove the background from the photo or blur it.
Double-click the name of any adjustment to reset it to its initial value.
The same filter on all your photos
Want all the photos from a shoot, a trip or your feed to have the same style? You don't need to edit them one by one:
- Add all the photos at once, by dragging them together or selecting them on your device.
- Edit one of them: choose the filter and adjust the intensity, light or color until you like it.
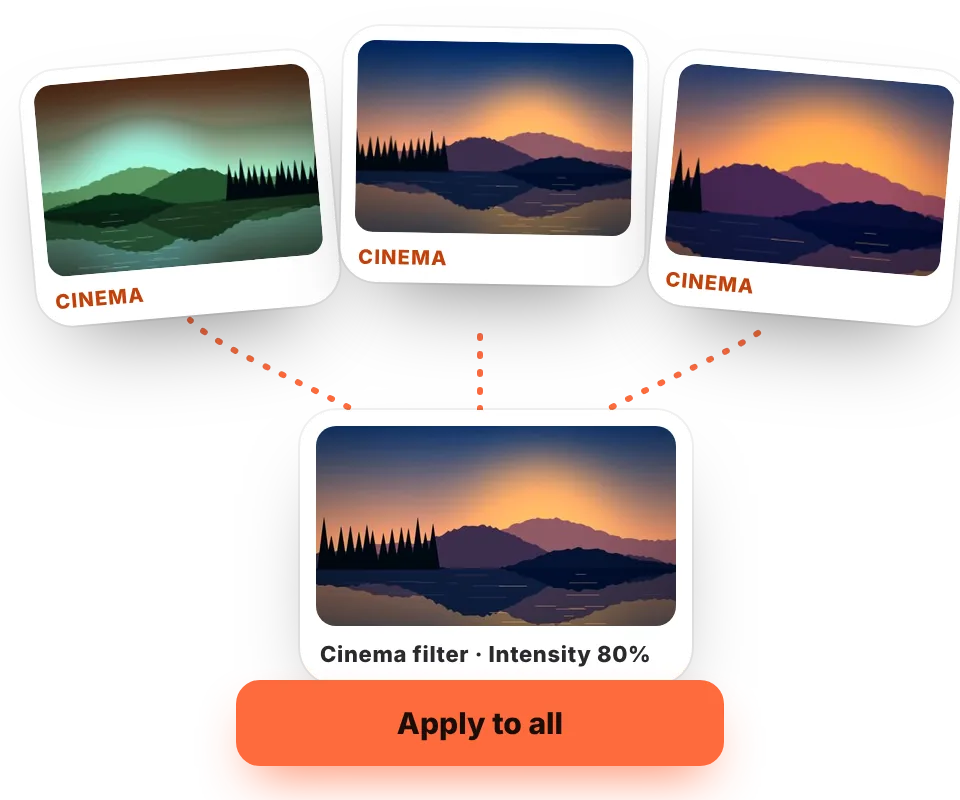
- Click "Apply to all". The filter, adjustments, effects, text and frame are copied to the rest in a moment. Cropping and rotation aren't copied, because each photo has its own framing.
- Download them together in a ZIP file, as WebP, JPG or the format you need.
It's the fastest way to get a recognizable style on your Instagram, match the tone of product photos in an online store, or give the same finish to a wedding or vacation album. And if you add text, you can also put your watermark on all the photos at once.
Tips for using filters
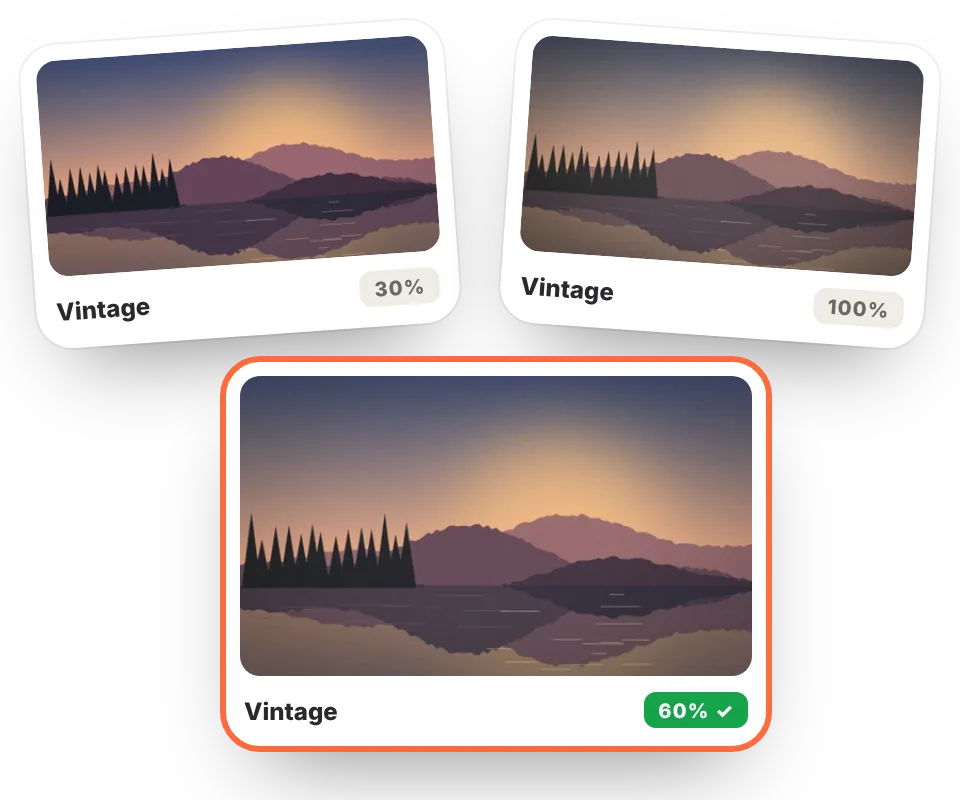
- Less is more: lower the intensity to 50–70% for a more natural result.
- Fix the light first: if the photo is dark, raise the exposure or shadows before applying the filter.
- Compare before saving: turn on "Compare" and move the line to see the original and edited photo side by side.
- Keep a consistent style on your social media by always using one or two similar filters.
- Get the format ready: before posting, crop the image to 1:1, 4:5 or 9:16 depending on the platform.
Frequently asked questions
How do I apply a filter to a photo online?
Open the photo on this page: the editor opens in the Filters tab. Tap the filter you want, adjust the intensity and click "Save" to download it.
Which filters are available?
More than 20: Vivid, Warm, Cool, Vintage, Film, Cinema, B&W, B&W drama, Noir, Sepia, Matte, Dramatic, HDR, Pastel, Polaroid, Lomo, Sunset, Autumn, Glacier, Cyberpunk, Duotone, Faded and Comic.
Can I adjust the filter intensity?
Yes, with the "Filter intensity" control that appears when you choose one.
Can I apply the same filter to several photos?
Yes. Apply the filter to one photo and click "Apply to all" to copy it to the rest of the images.
How do I make a photo black and white?
Choose the B&W, B&W drama or Noir filter, or use the "Grayscale" control in the Effects tab.
Is it free and without a watermark?
Yes, completely free, with no sign-up and no watermark.