How to blur the background of a photo in 4 steps
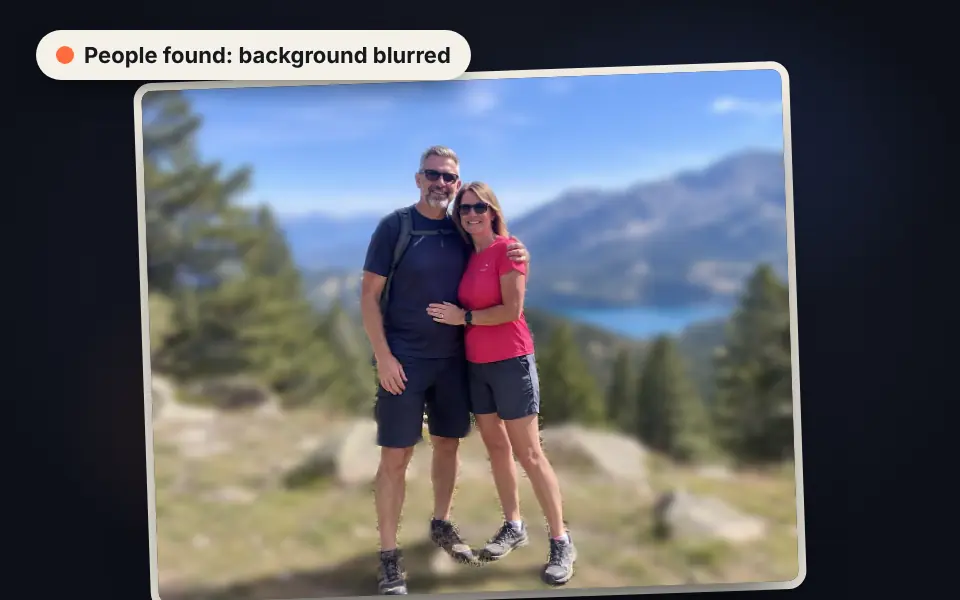
Upload the photo
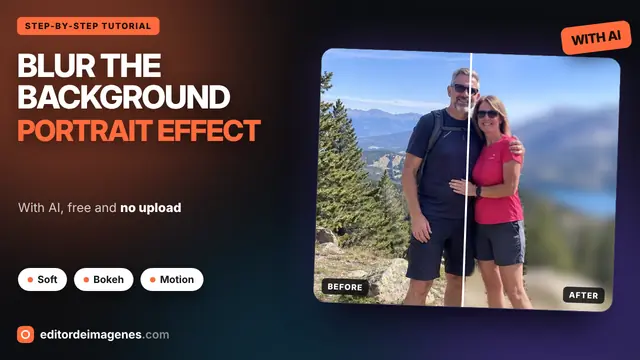
Drag it, choose it or paste it with Ctrl+V. The AI finds the people and blurs the background.
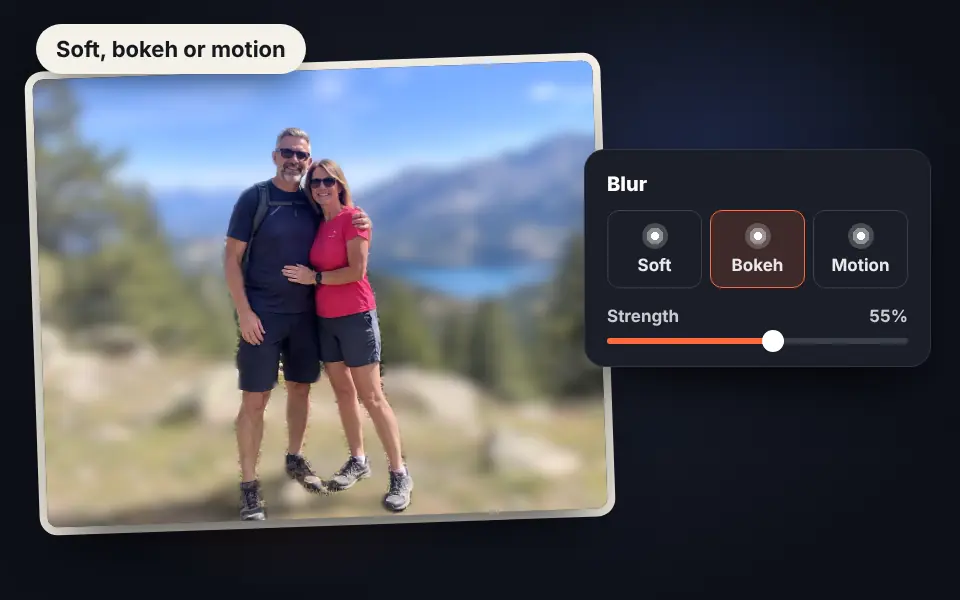
Choose the blur
Soft, bokeh or motion, with the strength you want. If you like, darken the background or make it black and white.
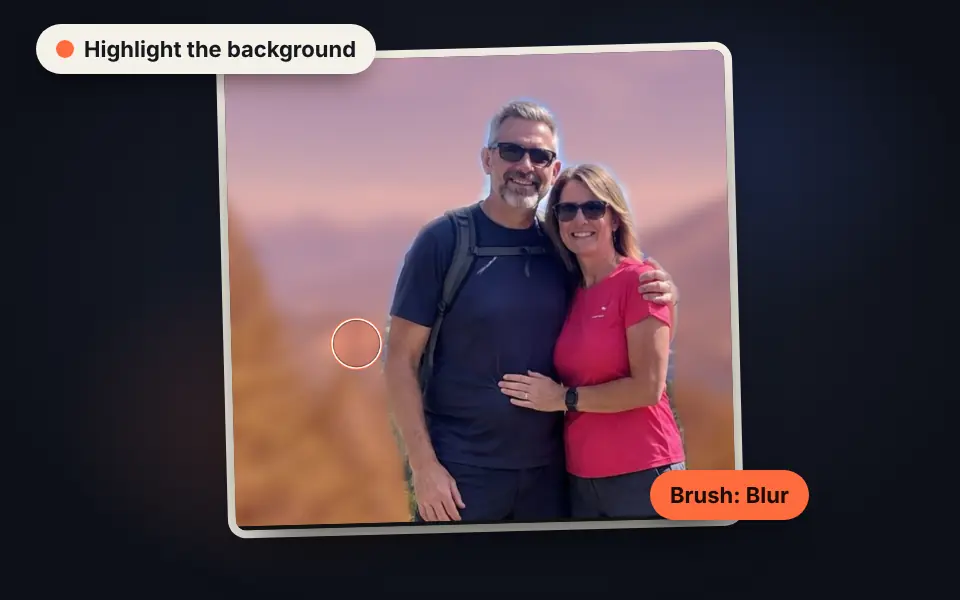
Fix the edge
Adjust the outline and use the brush to bring into focus or blur any areas that came out wrong.
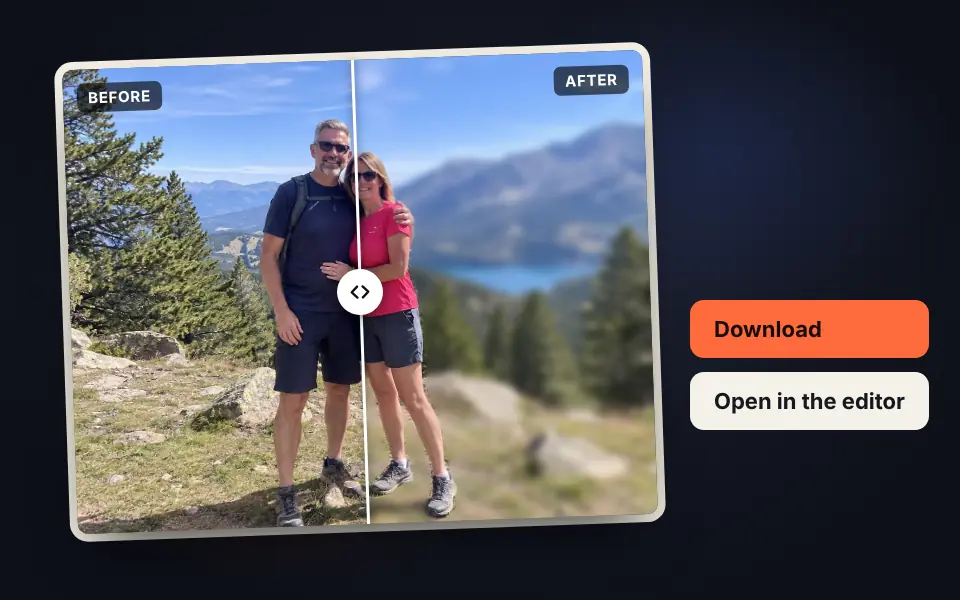
Compare and download
Check the before and after and download the photo or open it in the editor.
Video tutorial: how to blur the background of a photo
In this video you'll see how a photo is uploaded, how the AI finds the people and blurs the background, how to change the strength and choose soft, bokeh or motion blur, how to darken the background or make it black and white, how to fix the edge with the brush, the before and after comparison and how to download the photo. Click a chapter to jump straight to that part.
The video only loads from YouTube when you press play, and YouTube may then set its cookies. More information in the cookie policy.
Soft, bokeh or motion blur
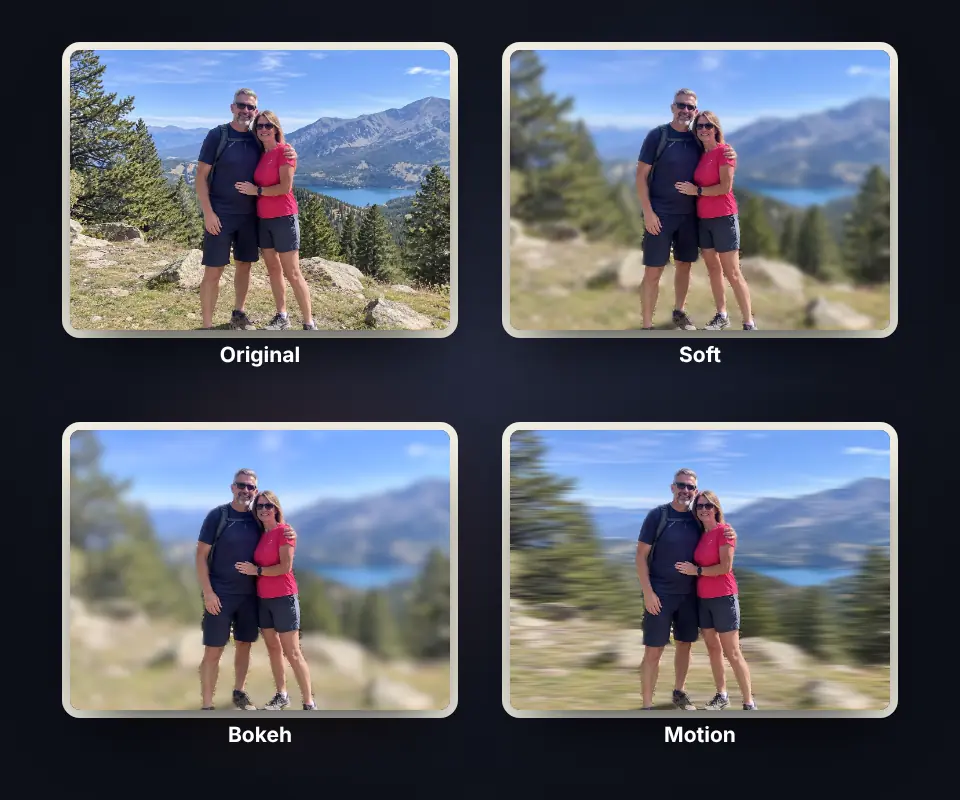
Each type of blur gives the photo a different feel:
- Soft: blurs the background evenly. It's the most natural one and works best for profile pictures.
- Bokeh: imitates a very fast camera lens. The lights in the background turn into bright circles, ideal for night photos or Christmas lights.
- Motion: stretches the background horizontally, as if the person were standing still and everything were rushing past. It adds a sense of speed to sports or street photos.
At medium strength the result looks like it was taken with the camera; raise it if you don't want the background to be recognizable.
Make the person stand out even more
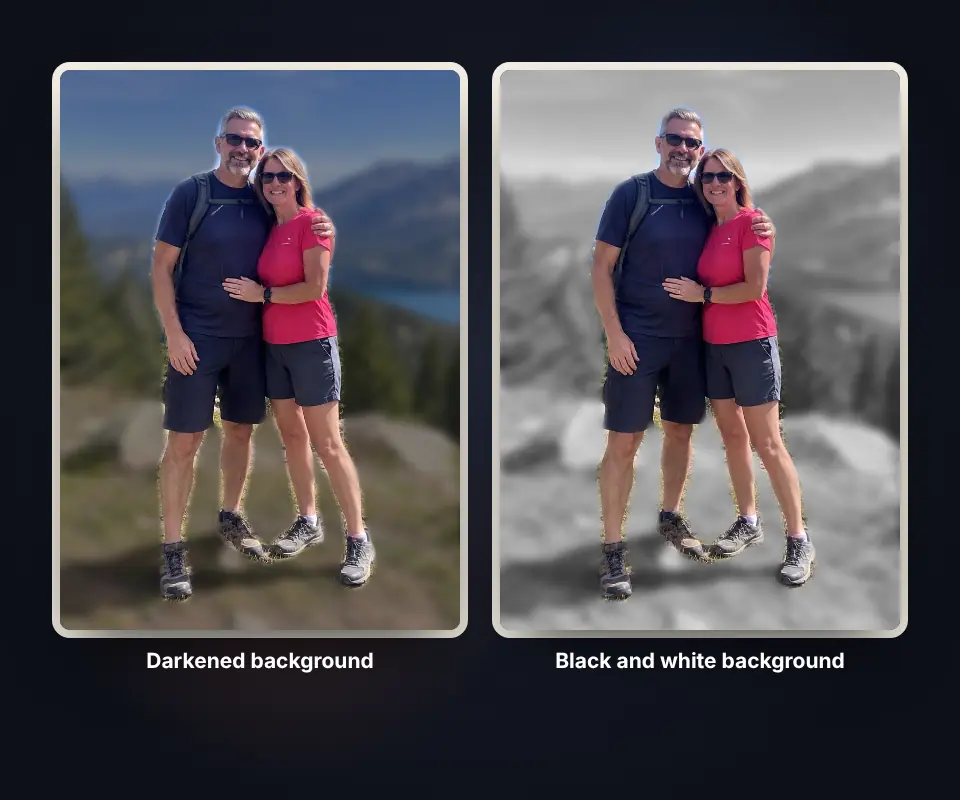
Besides blurring it, you can change the background so all the attention goes to the person:
- Darken the background: creates a spotlight effect, as if the person were lit and everything else in shadow.
- Black and white background: the person keeps their color and the background turns gray. It's the selective color effect.
- Combine them: a blurred, slightly darker, black and white background works really well for portraits and product photos with a model.
If you'd rather remove the background completely or replace it with a color, use remove background.
Clean edges on hair, arms and clothes
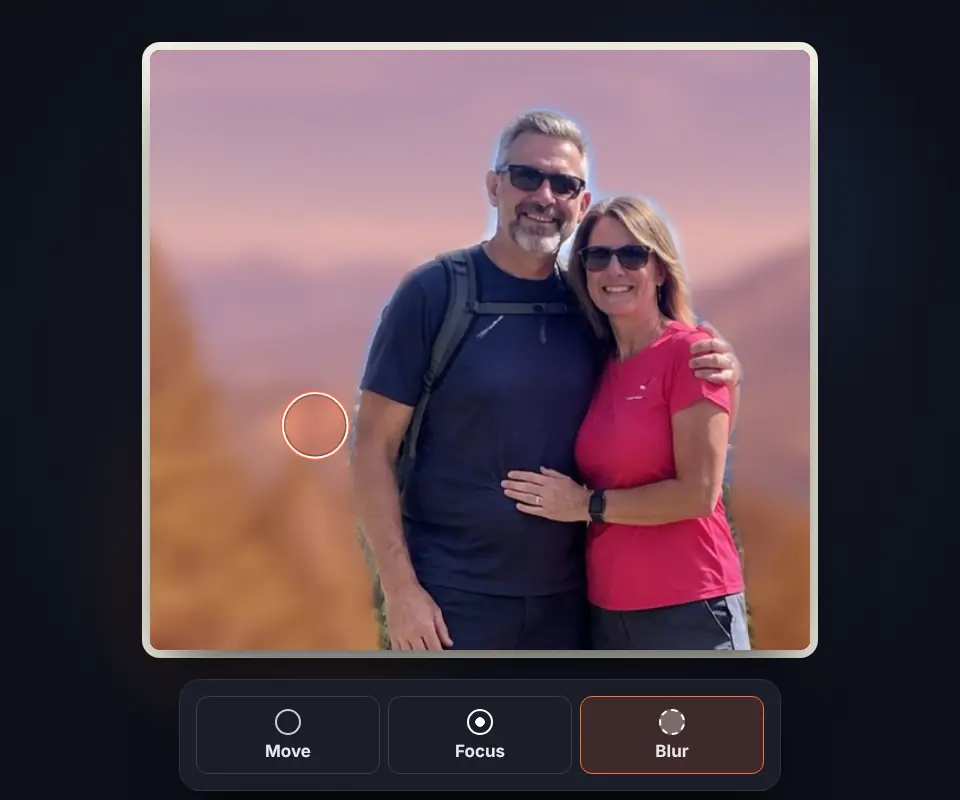
The AI gets the outline right in most photos, but it can slip with loose hair, between the arms or next to objects the person is holding. To make it perfect:
- Highlight the background paints what will be blurred in orange, so you can see straight away what's missing.
- The Focus brush brings an area back into focus and Blur sends it to the background.
- Adjust the outline enlarges or shrinks the edge of all the people at once, and Soften the edge makes the transition more gradual.
Zoom in to touch up the details and use Ctrl+Z if you make a mistake.
What is blurring the background for?
A blurred background makes an ordinary photo look like a studio shot. Use it for your profile picture on LinkedIn, WhatsApp or your résumé, for portraits taken with a phone without portrait mode, for product photos with a person in them or to make a group photo look cleaner. It also helps protect your privacy: with a strong blur nobody can see your house, your street, a car's license plate or whoever was walking past. If you also want to cover specific faces, there's blur faces.
How the person is separated from the background without uploading the photo
The tool uses BodyPix, an artificial intelligence model from Google that runs with TensorFlow.js. The first time, about 4 MB are downloaded and from then on everything is calculated in your browser, so the photo never leaves your device. The model decides which pixels belong to a person and the rest is blurred without mixing the person's colors with the background, so no halo appears around the silhouette.
The model recognizes people, but not pets or objects. In those photos the whole background is blurred and you just paint what you want sharp with "Focus".
Frequently asked questions
How do I blur the background of a photo?
Upload the photo and the AI finds the people and blurs the background on its own. Choose the blur type and strength, fix the edge with the brush if needed and download the photo.
Is it the same as the portrait mode on my phone?
It's the same effect: the person stays sharp and the background is blurred, as with a DSLR and a fast lens. The difference is that here you can apply it to any photo, including the ones you've already taken.
What's the difference between soft, bokeh and motion blur?
Soft blurs the background evenly. Bokeh imitates a lens: the lights in the background turn into bright circles. Motion stretches the background horizontally, as if the person were standing still and everything were rushing past.
Does it work with pets and objects?
The AI only recognizes people. With pets, products or other objects the whole background is blurred and you have to paint what you want sharp with the "Focus" brush.
What if the hair or an arm comes out blurred?
Choose the "Focus" brush and paint over it. If it's the other way round and part of the background stays sharp, use "Blur". "Adjust the outline" enlarges or shrinks the edge of all the people at once.
Can I darken the background or make it black and white?
Yes. In the "Background" section there's a control to darken it and a box to turn it black and white while the person keeps their color.
Can I see how it looks before downloading?
Yes. Press "Before and after" and drag the bar over the photo. With zoom you can check the edge of the hair and clothes.
Can it hide what's behind me?
Yes. With a high strength the house, the street, signs and people in the background can't be made out. If you need to cover a particular face, also use blur faces.
Is my photo uploaded to a server?
No. The AI downloads only once and runs in your browser, so the photo never leaves your device.
Does the downloaded photo include the GPS location?
No. It's saved without EXIF data when you download it, so it doesn't include the location, the date or the phone model.
Can I keep editing the photo afterwards?
Yes. Press "Open in the editor" and the photo goes to the image editor to crop it, adjust the color or apply filters.
Is it free?
Yes, free, with no sign-up and no watermark.