How to blur faces in a photo in 4 steps
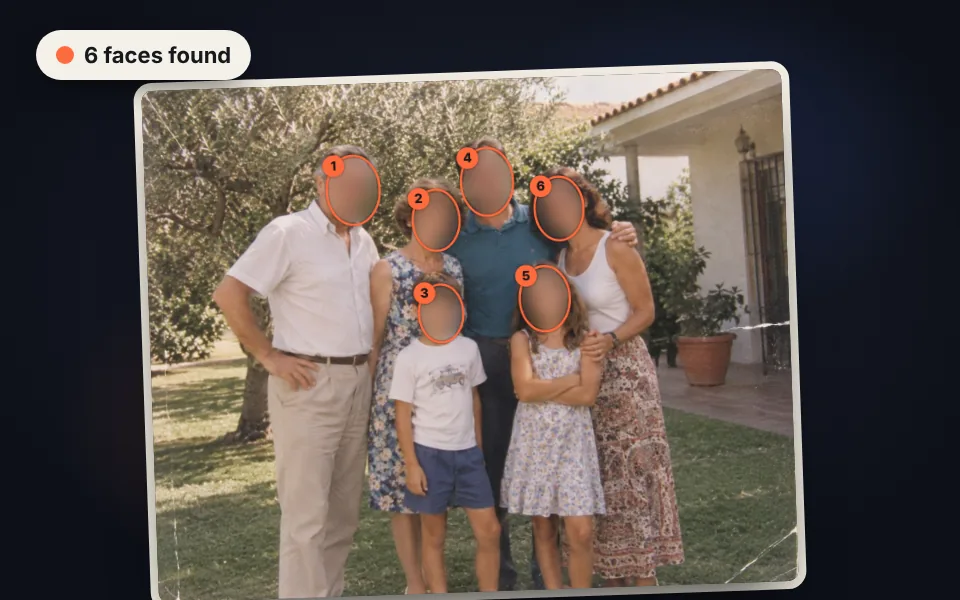
Upload the photo
Drag it, choose it or paste it with Ctrl+V. Faces are found and hidden automatically.
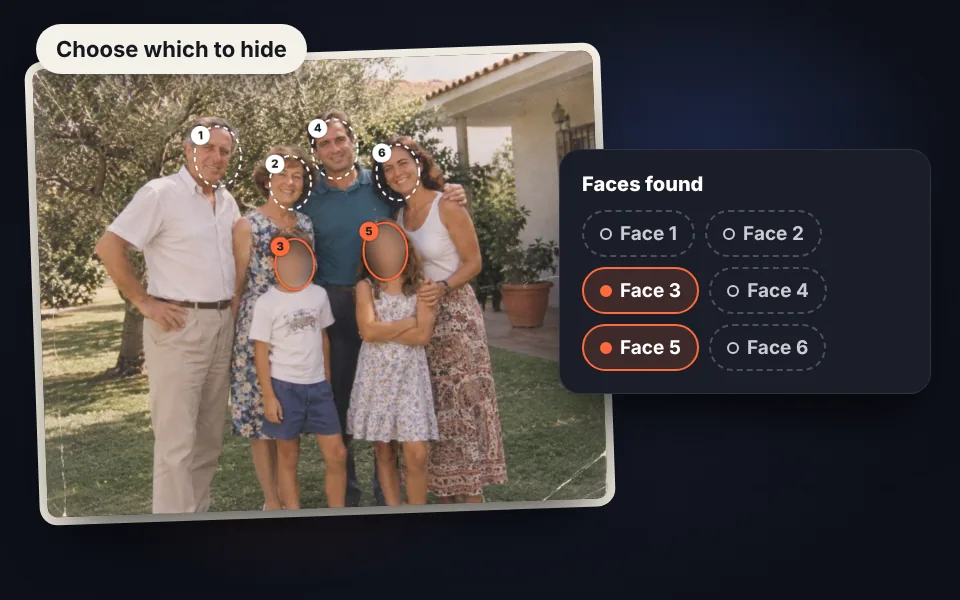
Choose which faces to hide
Click a face or its button to uncover it. That way you hide only the ones you want.
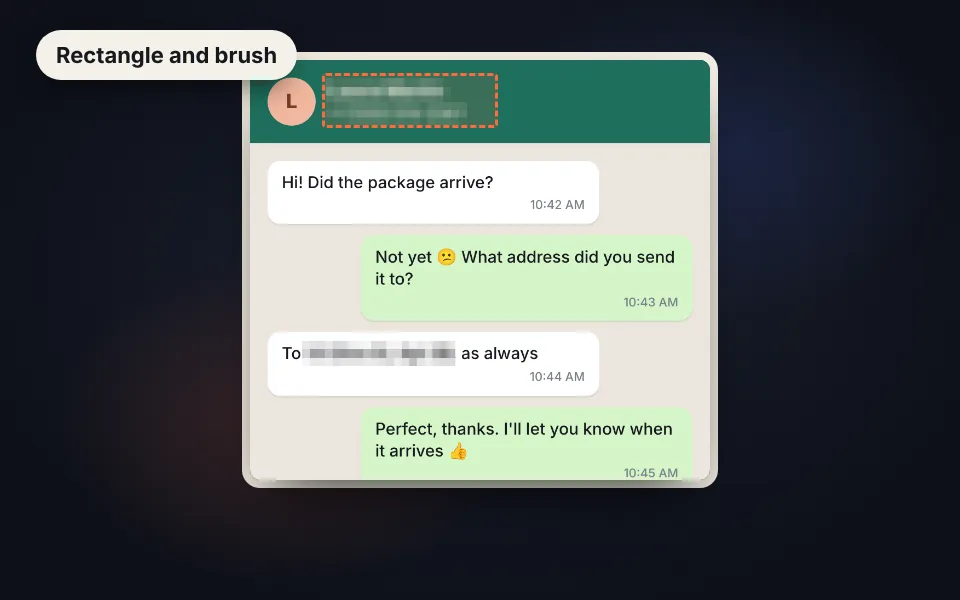
Hide anything else
Use the brush or the rectangle to hide other areas and the eraser to uncover them.
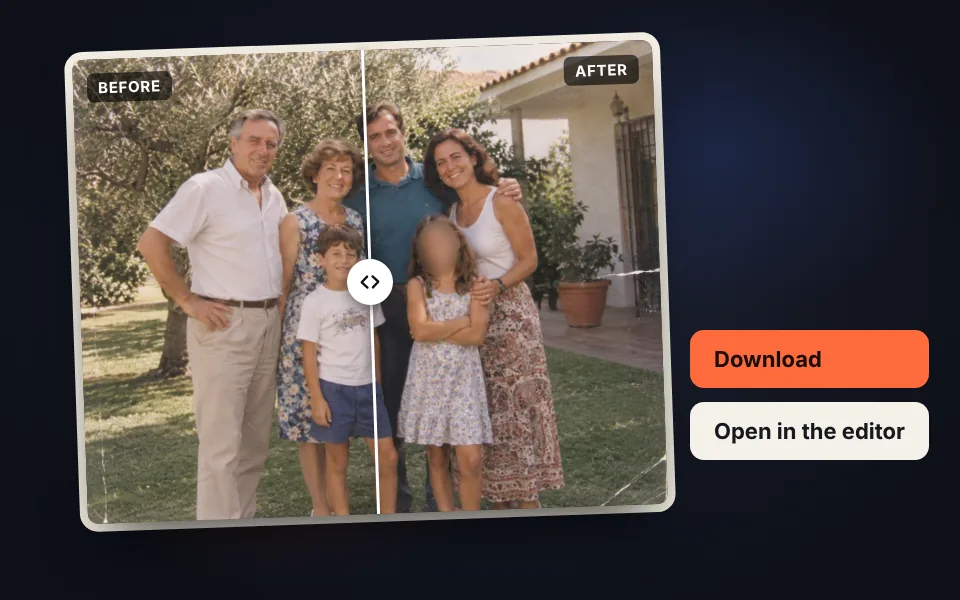
Compare and download
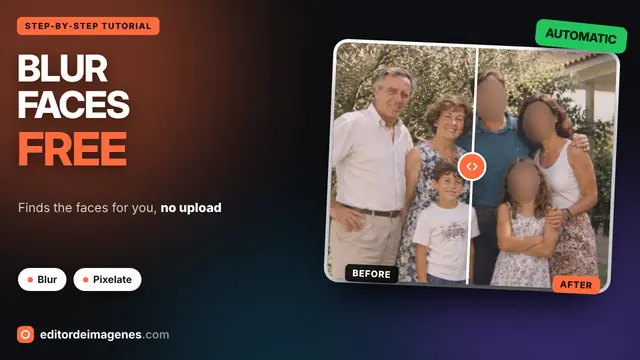
Check the before and after, download the photo or open it in the editor.
Video tutorial: how to blur faces in a photo
In this video you'll see how the six faces in a family photo are found and covered automatically, how to choose which ones stay visible, the difference between blur, pixelate and solid color, how to cover other areas by hand with the rectangle and the brush, the before and after comparison and the download without EXIF data. Click a chapter to jump straight to that part.
The video only loads from YouTube when you press play, and YouTube may then set its cookies. More information in the cookie policy.
Blur, pixelate or cover with color
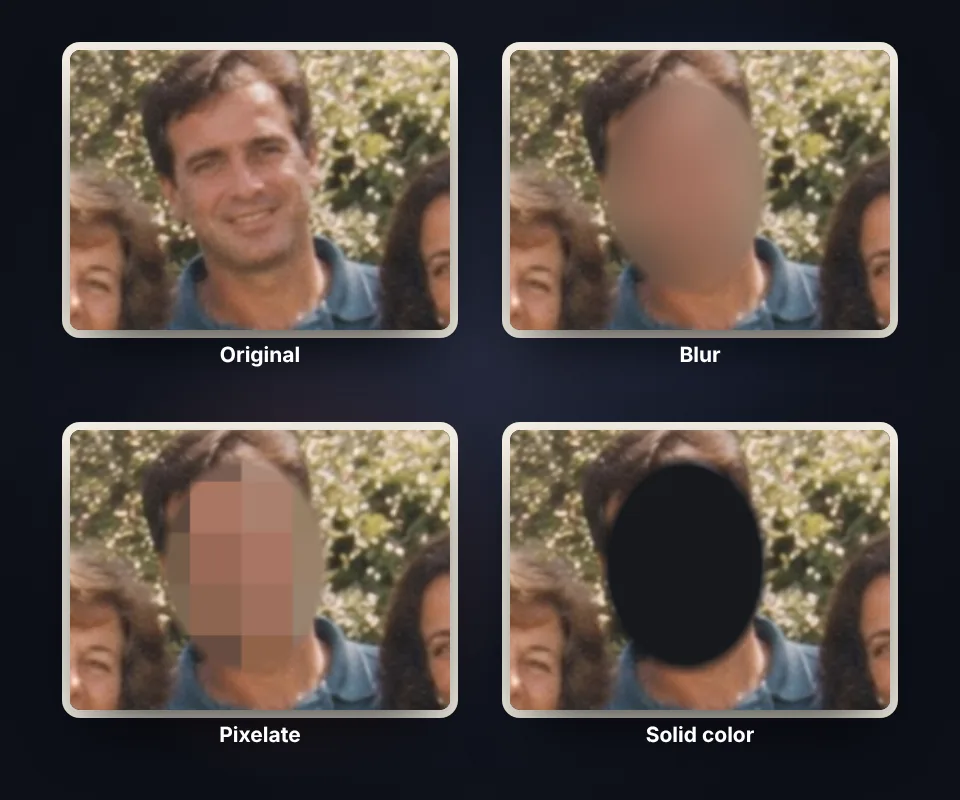
Choose the effect based on what you want to hide and where you'll share the photo:
- Blur: the most subtle. The photo still looks nice and the face can't be recognized.
- Pixelate: the TV classic. It makes it clear something was hidden on purpose.
- Solid color: the safest, because it completely erases what's underneath. It's best for text, phone numbers or documents.
Raise the strength if the face is large or the photo has a high resolution, and check the result with zoom.
Hide only the faces you want
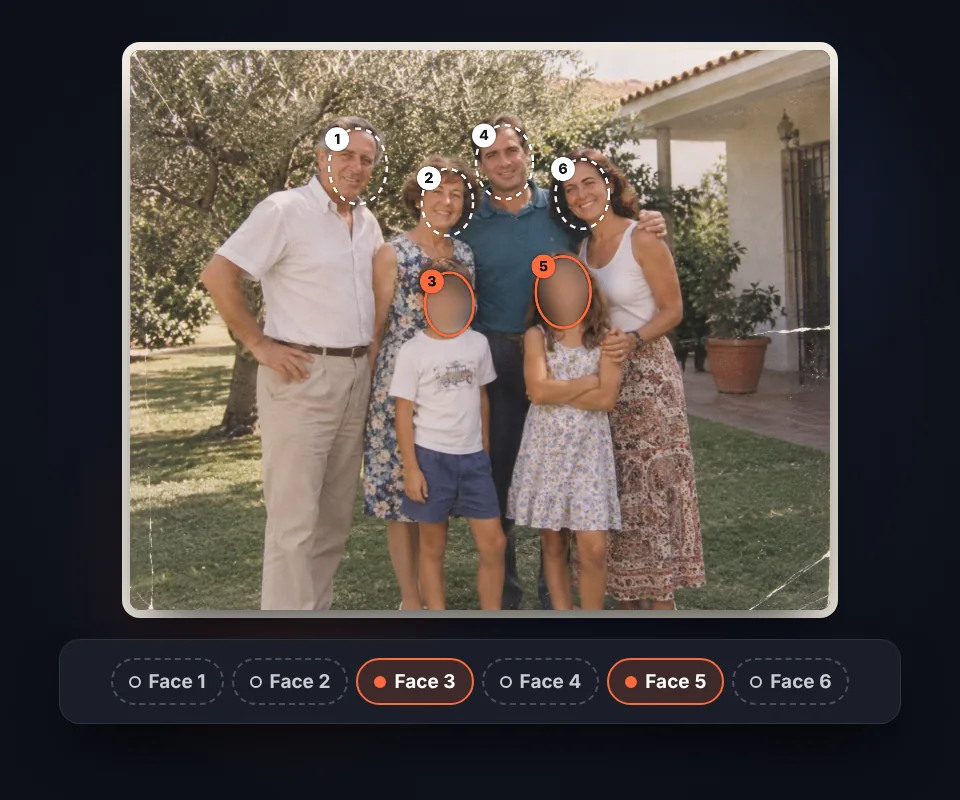
In a group photo you don't always need to hide everyone. Each detected face has a number and a button in the panel:
- Click the face or its button to hide or uncover it.
- Hide all and None change them all at once.
- Shape and margin: use the oval or the rectangle and enlarge the area to also cover the hair or ears.
If a face wasn't detected, for example in profile or very small, hide it with the rectangle.
Hide details in screenshots
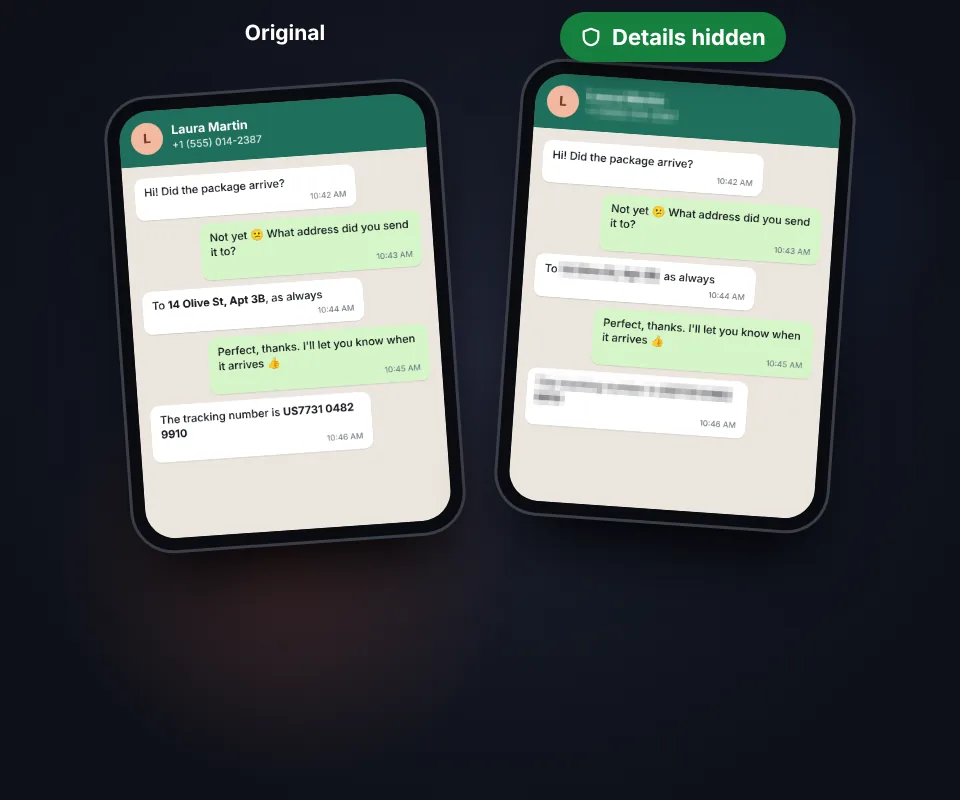
Before sharing a screenshot of a chat, an email or an order, hide what nobody should see:
- Names and phone numbers in a chat.
- Addresses, emails and order or account numbers.
- License plates, tattoos or signs that identify someone. For cars you also have blur license plate.
With the rectangle you hide a line of text in one go, and with the eraser you fix it if you went too far.
When to blur faces
Blur the faces of children before posting photos from school, a birthday party or a team, and those of people in the background in photos from trips, events or a home you're renting out. It's also useful to show your work or a shop without showing customers or coworkers. And remember that the downloaded photo comes out without EXIF data; if you want to check what data a photo contains, use view and remove EXIF data.
How faces are detected without uploading the photo
Faces are found with a classic computer vision detector that scans the photo at different sizes looking for the pattern of light and shadow of a face: eyes, nose and mouth. It runs with JavaScript in your browser, it's very small and it doesn't need artificial intelligence or servers, so the photo never leaves your device.
It finds faces looking at the camera well; faces in profile, very small, covered or with sunglasses may be missed. That's why you have the brush and the rectangle, and the comparison to check the result before sharing it.
Frequently asked questions
How do I blur someone's face in a photo?
Upload the photo and faces are detected and hidden automatically. Click the ones you want to keep visible, choose blur, pixelate or solid color and download the photo.
Can I hide only some faces?
Yes. Each detected face has a number and a button. Click the face or its button to hide or uncover it, or use "Hide all" and "None".
What if a face isn't detected?
Hide it by hand with the rectangle or the brush. Detection works best with faces looking at the camera and of medium size; faces in profile, very small or with sunglasses may be missed.
Can I hide other things besides faces?
Yes. With the rectangle or the brush you can hide names, phone numbers, addresses, license plates, tattoos or any detail in a screenshot.
Which is safer: blur, pixelate or solid color?
Solid color is the safest, because it completely erases what's underneath. Blur and pixelate are more subtle; for text and sensitive details use a high strength or solid color.
What is the eraser for?
To uncover a part that was hidden too much, for example the hair or the background around a face.
Can I see how it looks before downloading?
Yes. Press "Before and after" and drag the bar over the photo. With zoom you can check that nothing can be recognized.
Does it use artificial intelligence?
No. Faces are found with a classic computer vision detector that runs with JavaScript in your browser, without uploading the photo to any server.
Is my photo uploaded to a server?
No. Everything happens in your browser and the photo never leaves your device.
Does the downloaded photo include the GPS location?
No. It's saved without EXIF data when you download it, so it doesn't include the location, the date or the phone model.
Can I keep editing the photo afterwards?
Yes. Press "Open in the editor" and the photo goes to the image editor to crop it, adjust the color or apply filters.
Is it free?
Yes, free, with no sign-up and no watermark.