How to remove red eyes from a photo in 4 steps
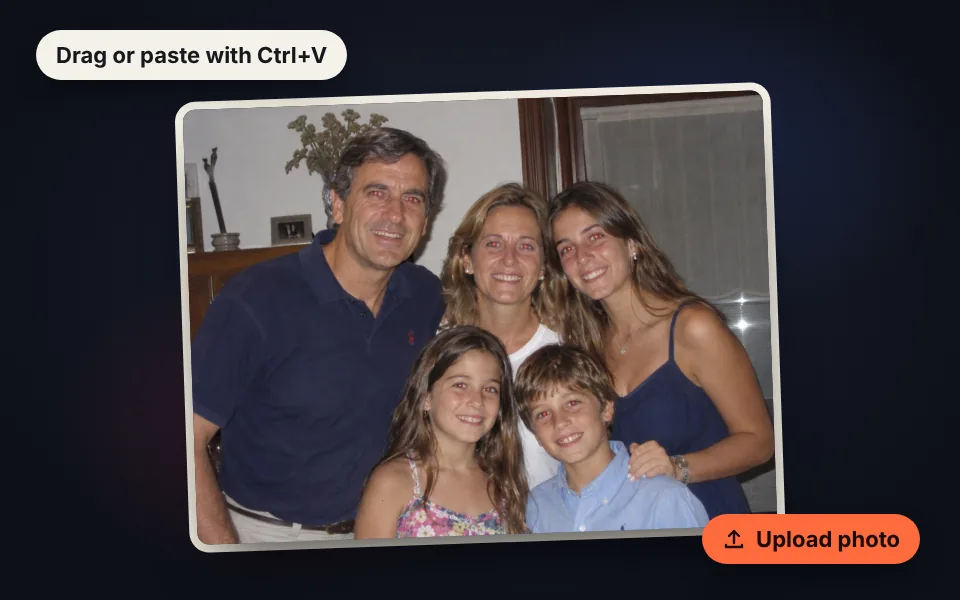
Upload the photo
Drag it, choose it or paste it with Ctrl+V. If it's a dog or a cat, choose Pets mode.
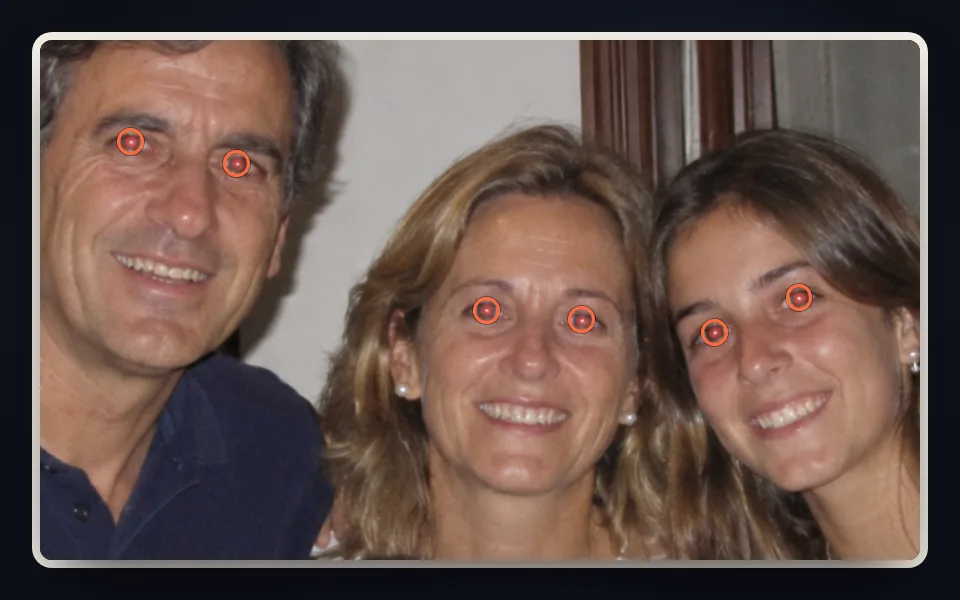
Check the eyes
Each fixed eye has an orange circle. Click one to remove the fix or click a missing eye to add it.
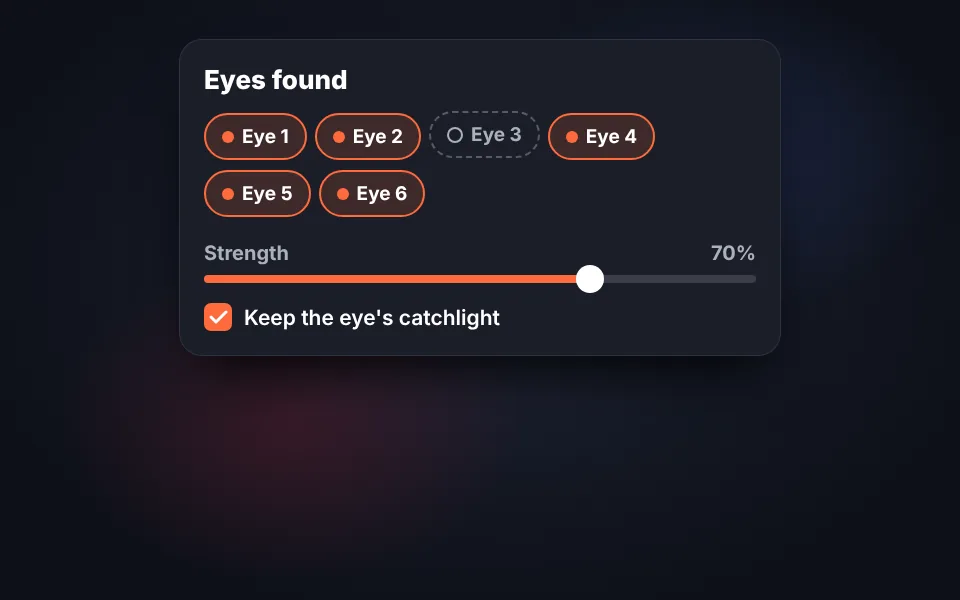
Adjust the fix
Change the strength, keep the catchlight and touch up with the brush if needed.
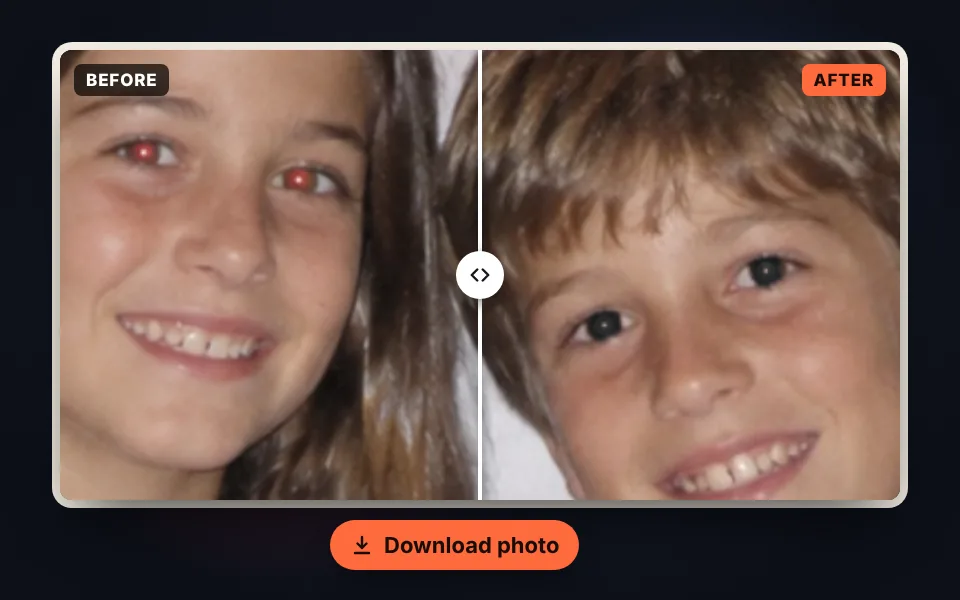
Compare and download
Check the before and after with zoom and download the photo as JPG, PNG or WebP, or open it in the editor.
Video tutorial: how to remove red eyes
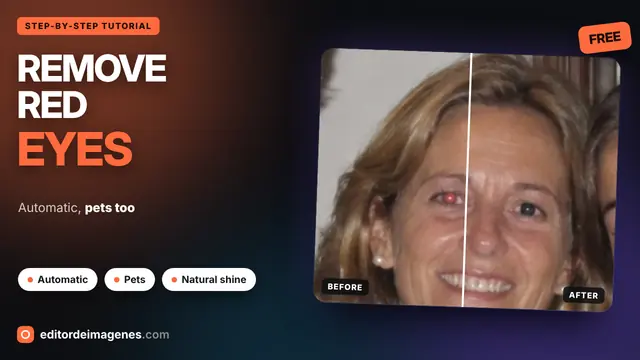
In this video you'll see how red eyes in a family photo are fixed automatically, how to zoom in to check each eye, how to adjust the strength and keep the catchlight, how to compare before and after, how to fix the glowing eyes of a dog and a cat and how to save the photo. Click a chapter to jump straight to that part.
The video only loads from YouTube when you press play, and YouTube may then set its cookies. More information in the cookie policy.
Why do red eyes appear in photos?
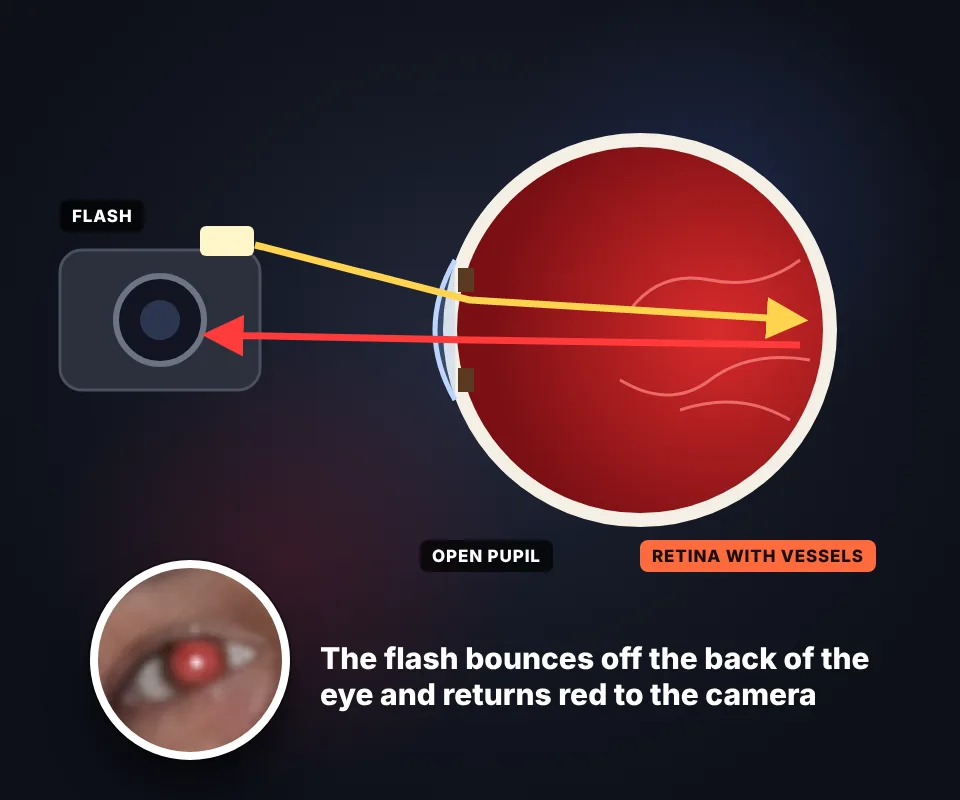
Red eyes appear when a photo is taken with flash in low light. In low light the pupil opens wide to let in more light; the flash goes through it, reaches the back of the eye and bounces straight back to the camera.
The back of the eye, the retina and the choroid behind it, is full of blood vessels, which is why the light comes back tinted red. The pupil has no time to close: the flash lasts about a thousandth of a second and the eye takes much longer to react.
It isn't a camera fault or an eye problem: it's simply how light works, so it can be fixed without spoiling the photo.
Why do dogs' and cats' eyes glow green or yellow?
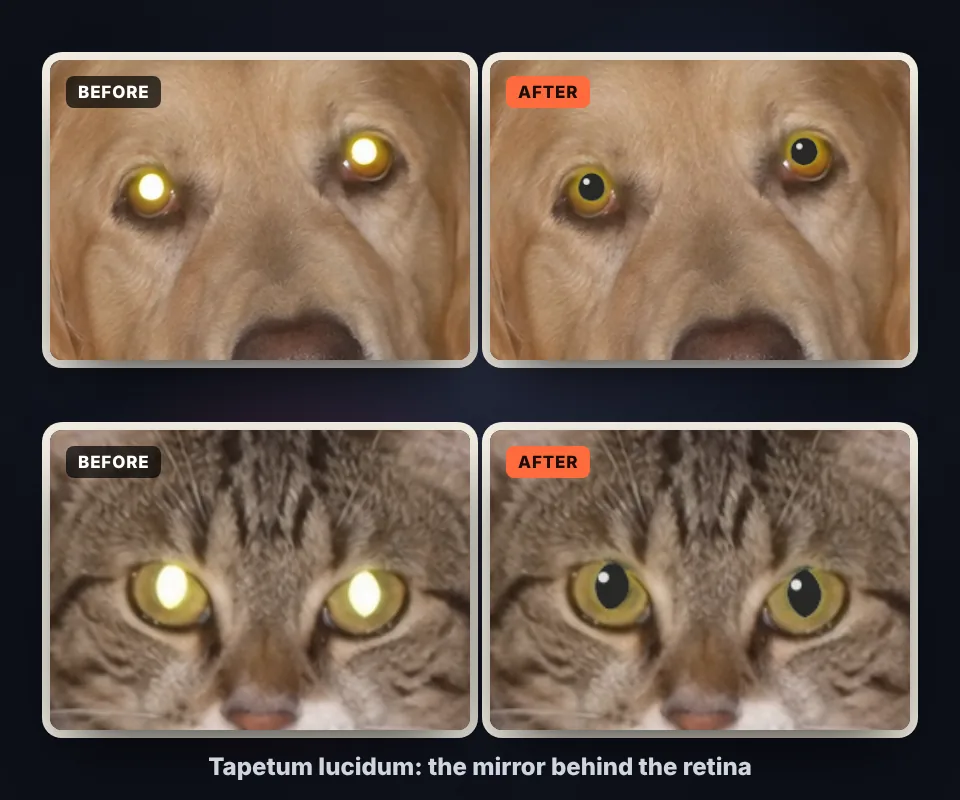
Dogs, cats and many other animals have a reflective layer behind the retina called the tapetum lucidum. It works like a mirror that sends light back to the retina so they see better at night, and with flash that mirror shines in the photo.
- Green or yellow: the most common in cats and many dogs.
- Blue or white: common in puppies, kittens and animals with light eyes.
- Red: in animals with little pigment, such as some blue-eyed dogs.
That's why Pets mode doesn't look for red: it looks for the strong glow of the pupil and replaces it with a dark pupil with a small catchlight.
When are red eyes most likely?
There are situations where they're almost guaranteed to appear:
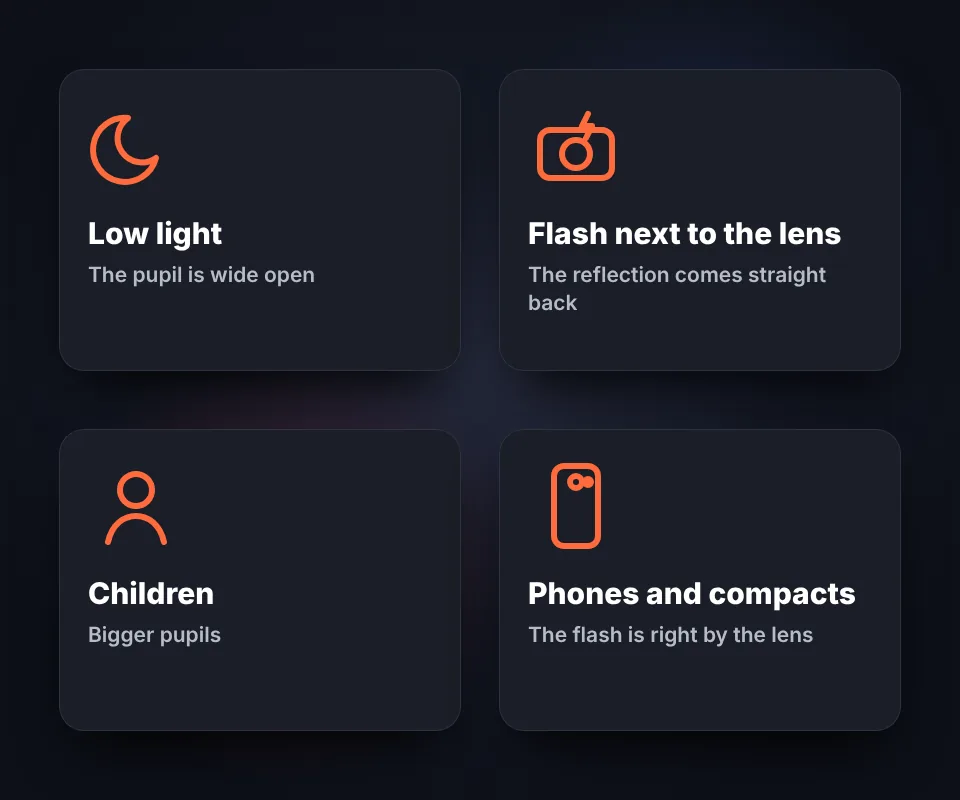
- Low light: indoors, at night or at parties the pupil is wide open.
- Flash right next to the lens: compact cameras and phones have the flash a few millimetres from the lens, right at the angle of the reflection.
- Children: their pupils dilate more and their retina reflects more light.
- Looking straight at the camera: the more head-on, the stronger the red.
- Light eyes: blue or green irises have less pigment and the effect is more visible.
Cameras with an external flash and modern phones that take night photos without flash suffer much less from it, but scanned film photos are often full of red eyes.
How to avoid red eyes when taking the photo
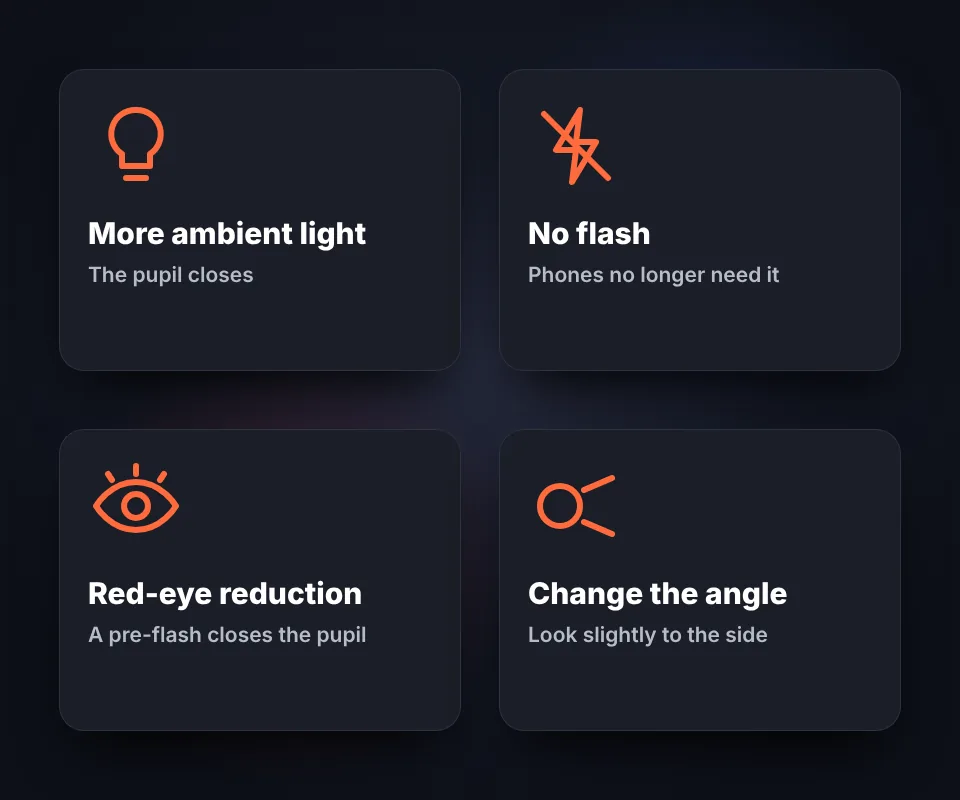
Before you have to fix them, you can avoid them with a few simple tricks:
- More ambient light: turn on the room lights so the pupil closes.
- Turn off the flash: today's phones take good night photos without it.
- Turn on red-eye reduction: the camera fires a pre-flash that closes the pupil.
- Change the angle: have the person look slightly above or to the side of the camera.
- Move the flash away from the lens: with an external flash or one bounced off the ceiling, the reflection doesn't return to the lens.
And if the photo is already taken, this tool fixes it in a few seconds.
Automatic or manual mode: when to use each
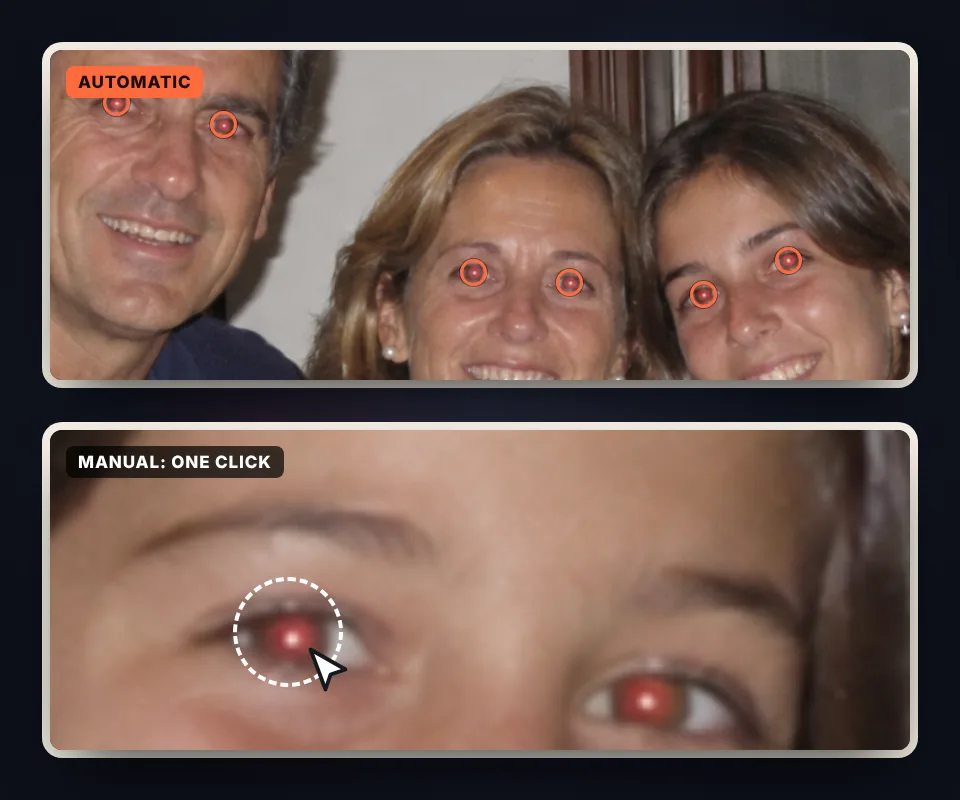
Automatic mode first looks for faces and then, inside them, for red pupils that form a pair. That way it doesn't mistake lips, a red T-shirt or a flower for an eye. It works very well on group photos taken from the front.
Manual mode is for when a face is in profile, very small or blurry and its eye isn't found:
- One click: click the eye and the red spot around it is found.
- Move and resize: drag the circle and change its size in the panel.
- Smart brush: it only darkens red or glowing pixels, so you don't need to paint precisely.
- Eraser: removes the fix where you don't want it.
Why you should keep the eye's catchlight
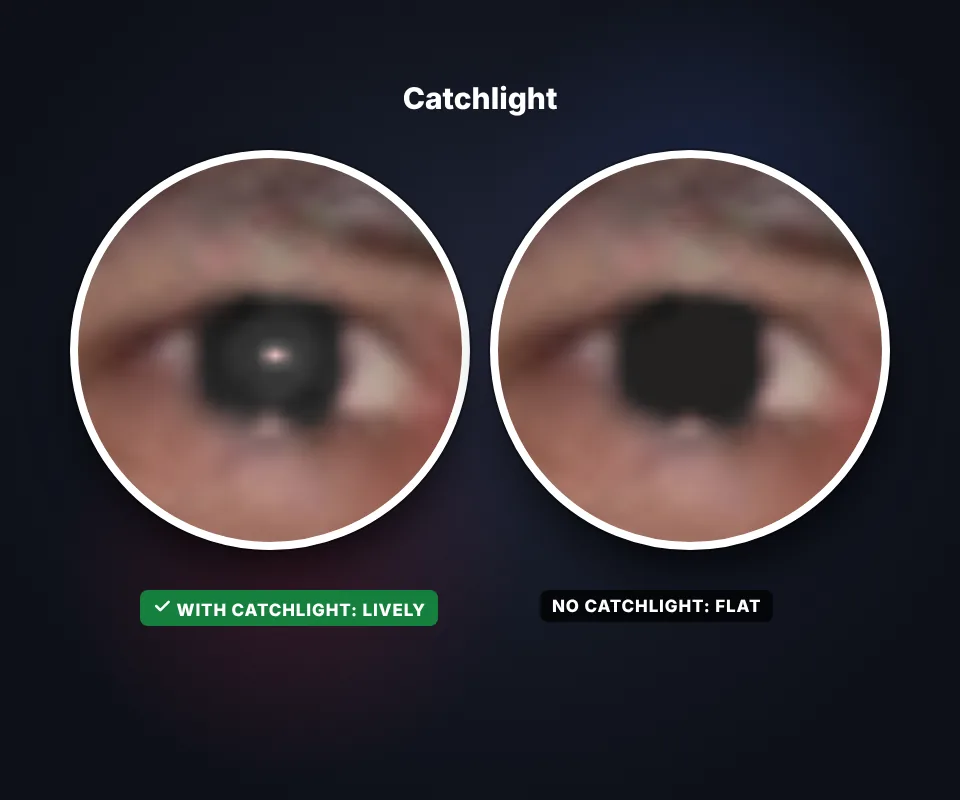
That small white dot you see in the pupil is the reflection of the light, and in photography it's called a catchlight. It's what makes eyes look alive.
Many tools paint the whole pupil black and the eye looks flat, like a hole. Here only the red pixels are darkened, so the catchlight stays. In Pets mode, where the whole pupil glows, a small dot of light is added so the eyes don't look dull.
If you prefer a completely dark pupil, untick Keep the eye's catchlight.
Privacy: no upload and no AI
The whole process runs with JavaScript in your browser. The photo isn't uploaded to any server, isn't stored and nobody sees it, which matters especially with family photos and photos of children.
No cloud artificial intelligence is used, because that would mean sending the photo to a server. Detection is based on the colour and shape of the pupils and on a lightweight face detector that runs on your own device.
That's why it's fast, free and works even on a slow connection.

A note about glare on glasses
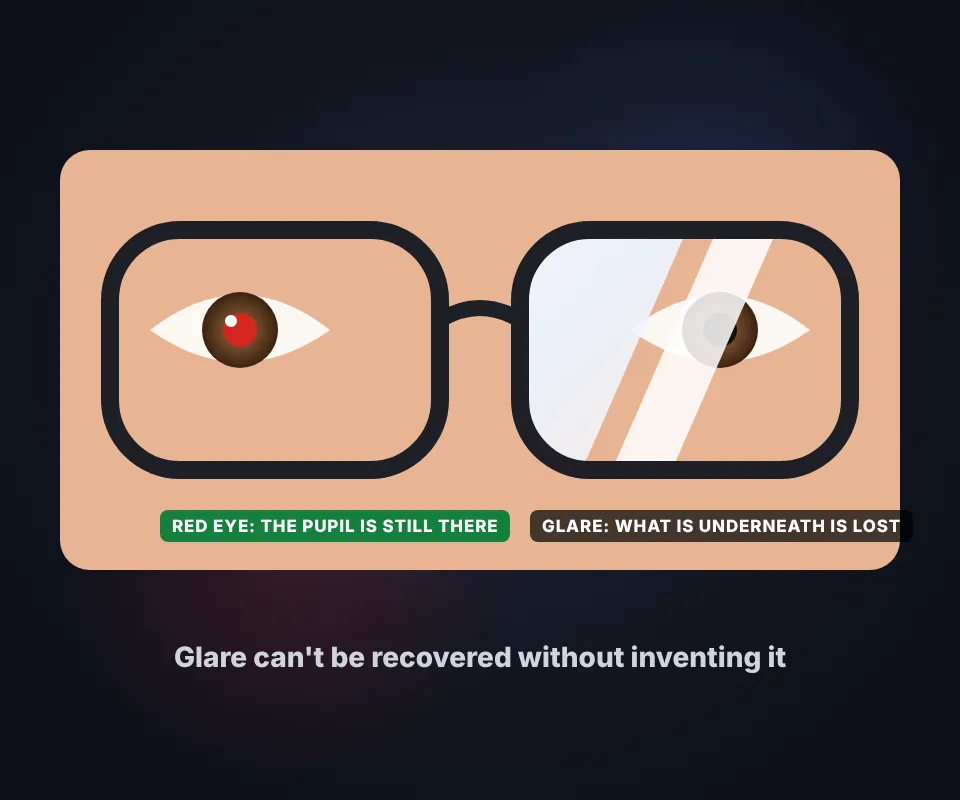
Glare on glasses isn't the same as red eyes. With red eyes the pupil is still there and has only changed colour. With glare on glasses the light completely covers what's behind it, and that part of the photo doesn't exist.
Getting it back would mean inventing it with generative AI, and the result would be an eye that isn't the person's. That's why this tool doesn't try.
If the glare is small and doesn't cover the eye, the brush in Restore old photos can hide it by filling it in with what's around it.
Red eyes in old and scanned photos
Film photos from the 80s and 90s are full of red eyes because almost every compact camera had its flash right next to the lens. To fix them, scan them at 600 dpi or more, upload them here and use the zoom to check each eye. If they also have scratches, stains or faded colours, run them through Restore old photos afterwards.
Frequently asked questions
How do I remove red eyes from a photo?
Upload the photo and red eyes are fixed automatically. Check the orange circles, adjust the strength if you like and download the photo as JPG, PNG or WebP.
Does it work with group photos?
Yes. All the eyes in the photo are found and each one appears in the list as Eye 1, Eye 2… so you can choose which ones to fix.
What if an eye isn't found?
Click it with the One click tool: the red spot around it is found and fixed. You can also paint it with the brush, which only darkens red pixels.
Can I fix only some of the eyes?
Yes. Click an eye in the photo or its button in the panel to turn its fix on or off.
Does it work for the glowing eyes of dogs and cats?
Yes. Choose Pets mode and the green, yellow, blue or white glow in their eyes is fixed, adding a small catchlight so the eyes look natural.
Will the photo lose quality?
Only the pupil pixels are changed; the rest of the photo stays the same. If you want no loss at all, download it as PNG.
Can I undo changes?
Yes, with the undo and redo buttons or with Ctrl+Z and Ctrl+Y. With Before and after you can compare the result with the original photo.
Does it remove glare from glasses?
No. Glare covers what's behind it and that information can't be recovered without inventing it. Small glare spots can be hidden with the brush in Restore old photos.
Does it work with old scanned photos?
Yes. Scan them at a good resolution and use the zoom to check each eye.
Does it work on my phone?
Yes. Tap an eye to fix it and use the zoom buttons to see it up close.
Is my photo uploaded to a server?
No. Everything happens in your browser and the photo never leaves your device.
Is it free?
Yes, free, with no sign-up and no watermarks.