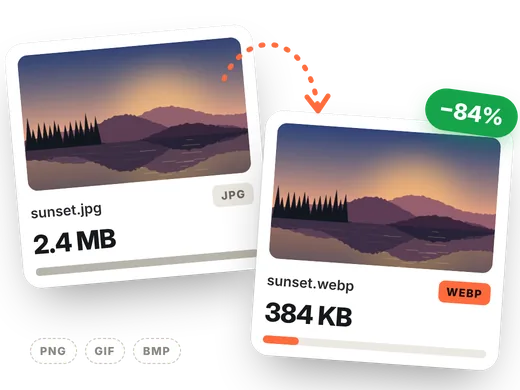
How to convert an image to WebP in 4 steps
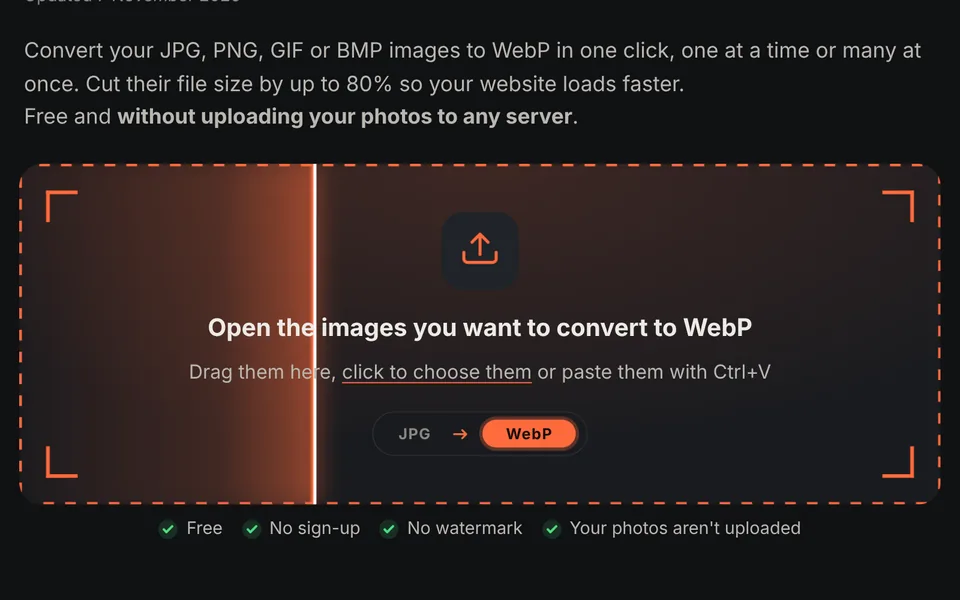
Add your images
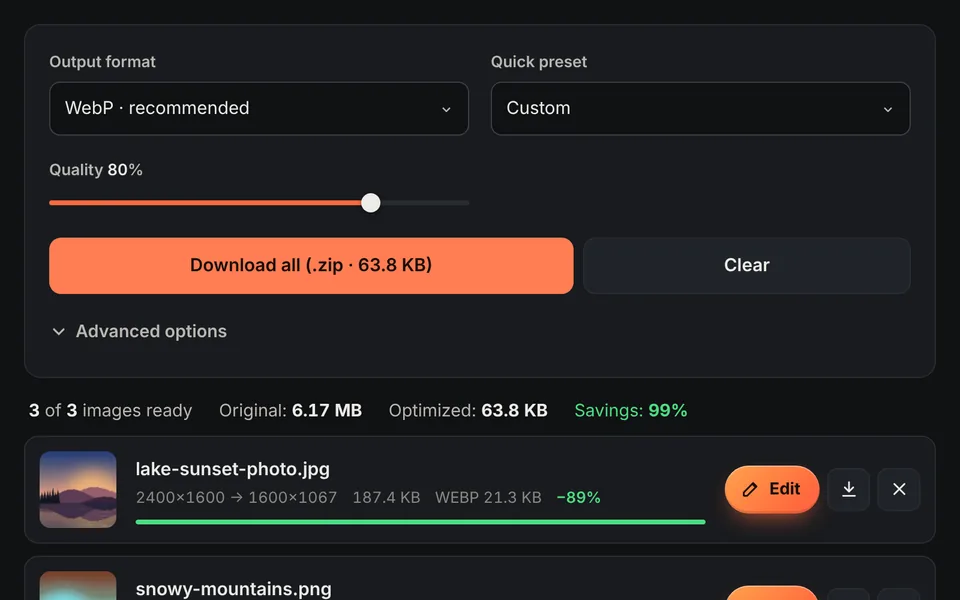
Drag one or more JPG, PNG, GIF or BMP images to the upload area. The conversion to WebP starts right away.
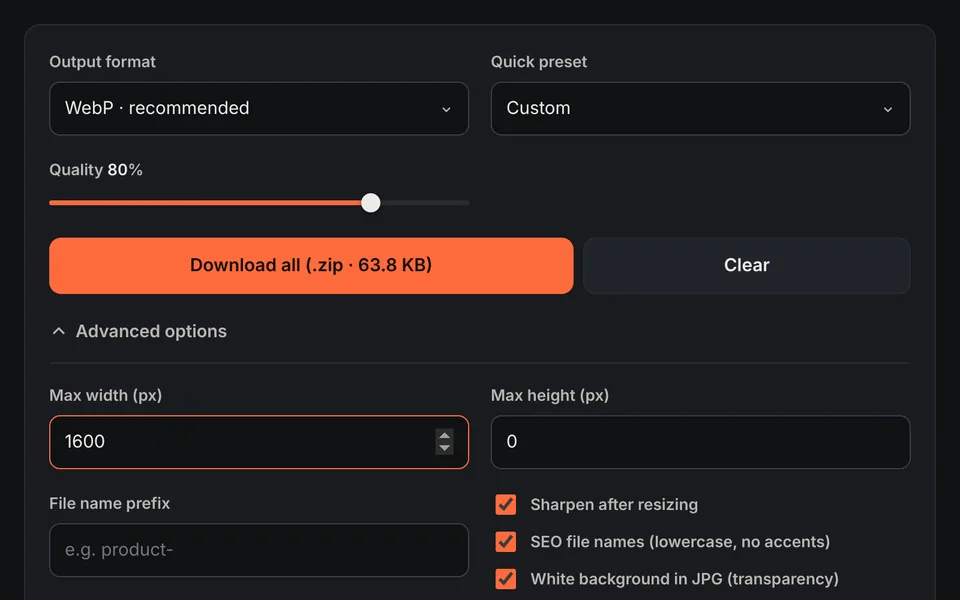
Adjust the quality
A quality of 75–85% gives the best balance between file size and quality. If you want, set a maximum width in "Advanced options".
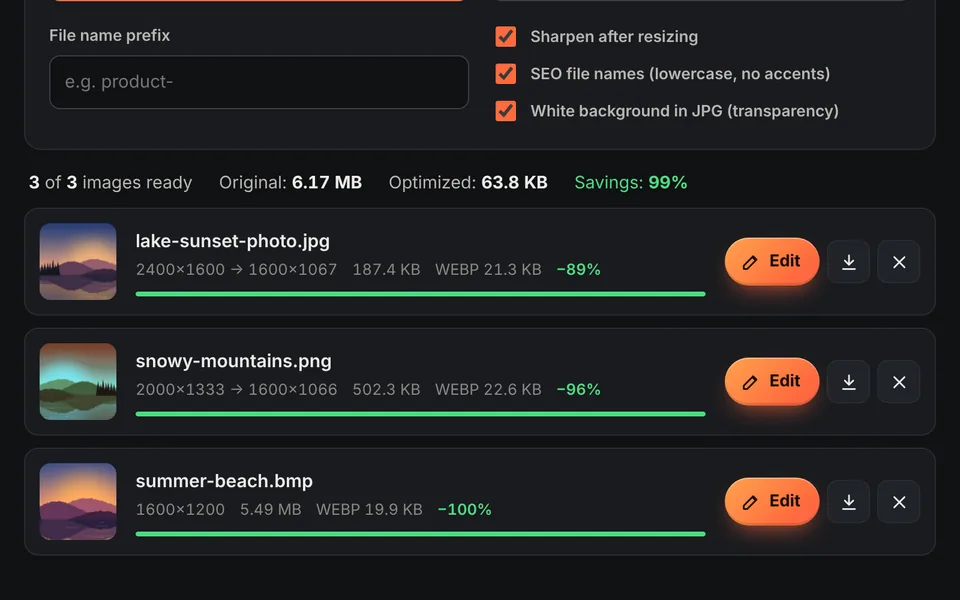
Check the savings
Each image shows its original size, the new size and the percentage saved.
Download
Download each image separately or all together in a ZIP file.
Video tutorial: how to convert images to WebP
In this video you'll see how to upload the images, adjust the quality, choose a profile, use the advanced options (SEO names and maximum size) and download them in a ZIP. Click a chapter to jump straight to that part.
The video only loads from YouTube when you press play, and YouTube may then set its cookies. More information in the cookie policy.
What is the WebP format?
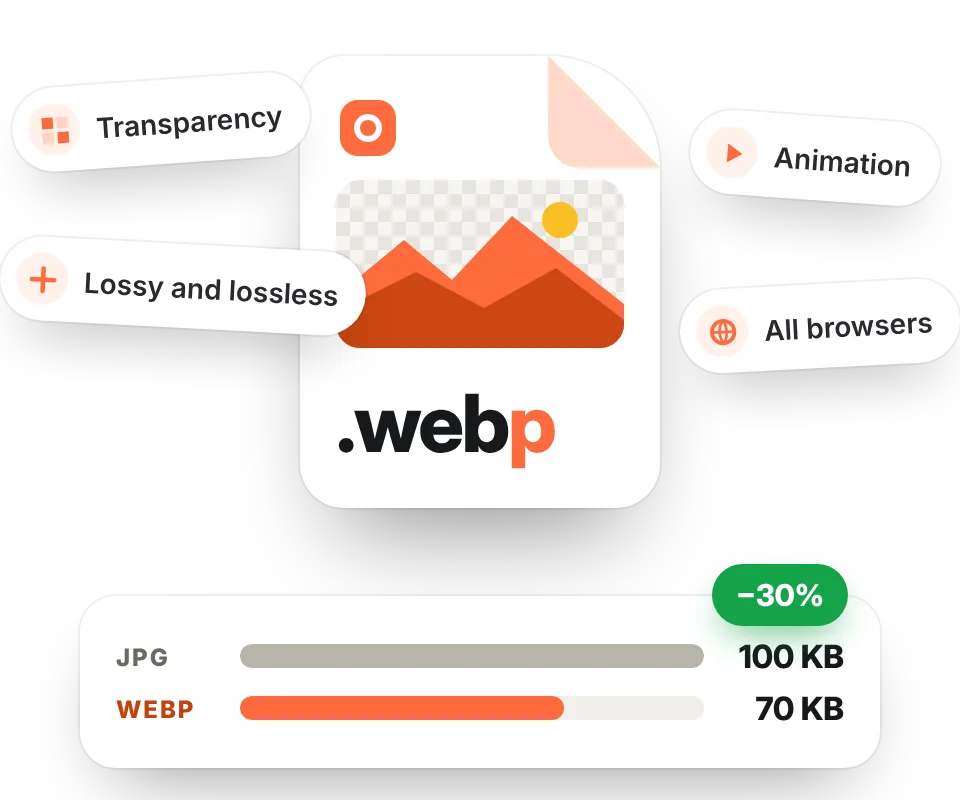
WebP is an image format created by Google for the web. It offers lossy and lossless compression, supports transparency like PNG and animation like GIF, and produces much smaller files: usually 25% to 35% smaller than a JPG of the same visual quality, and far smaller than a PNG.
Today WebP works in every modern browser (Chrome, Edge, Firefox, Safari and Opera, on both desktop and mobile), which is why it's the recommended format for the images on any website.
Why convert your images to WebP
- Faster websites: images are usually the heaviest part of a page. Making them smaller speeds up loading, especially on phones.
- Better SEO: speed affects Core Web Vitals (especially LCP), which Google takes into account for rankings.
- Less bandwidth: less space on your hosting and less data for your visitors.
- Transparency included: you can replace PNG files with transparent backgrounds with much lighter WebP files.
JPG to WebP, PNG to WebP and more
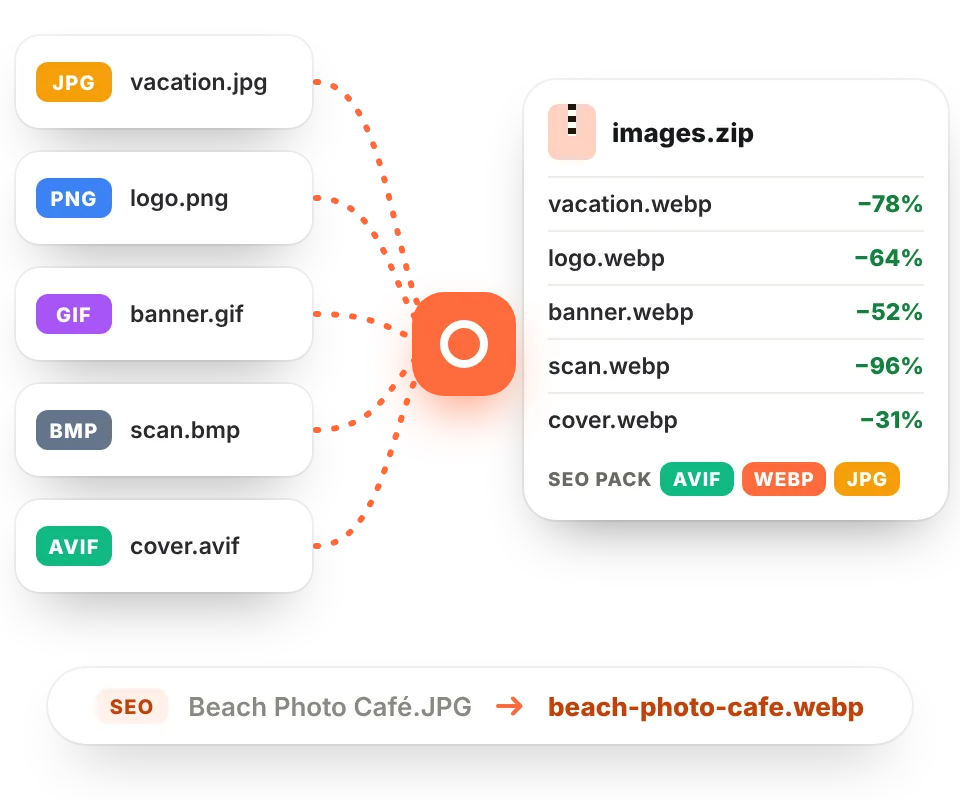
The tool accepts JPG, PNG, GIF, BMP, AVIF and WebP images. If your photo has transparency, it's kept when converting to WebP. You can convert many images at once and download them all in a ZIP; with the "SEO file names" option, files are saved in lowercase, without accents and with hyphens.
Want maximum compatibility? Choose the SEO pack as the output format and you'll get an AVIF, a WebP and a JPG version of each photo.
How to use WebP images on your website
If you use WordPress or another CMS, upload the .webp files like any other image. If you write the HTML by hand, you can serve WebP with a JPG fallback like this:
<picture>
  <source srcset="photo.avif" type="image/avif">
  <source srcset="photo.webp" type="image/webp">
  <img src="photo.jpg" alt="Description of the photo" width="1200" height="800" loading="lazy">
</picture>
To reduce the size even more, combine the conversion with resizing the image to the size it's actually displayed at, or read our guide to compress images.
Frequently asked questions
How do I convert JPG to WebP?
Drag your JPG files to this page. They are converted to WebP automatically; then click "Download" on each image or "Download all (.zip)".
How do I convert PNG to WebP without losing transparency?
Open the PNG and convert it to WebP: transparency is kept. If you need maximum quality, raise the quality to 90–100%.
Do I lose quality when converting to WebP?
At a quality between 75% and 85% the difference is practically invisible and the file is much smaller. You can raise the quality if you need to.
Do all browsers support WebP?
Yes, all current browsers support it. Only very old browsers can't display it; for them you can offer a JPG fallback with the SEO pack.
Can I convert many images to WebP at once?
Yes, you can add as many as you want and download them together in a ZIP file.
Which is better, WebP or AVIF?
AVIF compresses more, but WebP is more compatible and can be created in any browser. If you want both, use the SEO pack.